IIDX Deck - Build Log - Part 3
Date Published: 2017-11-12

This part of the build log covers the spindle assembly, wiring, and initial lighting testing.
I had originally intended on using an optical encoder attached to a lego wheel I had built a long while ago for the project, but it was quite unreliable. I figured if I spent this much effort on the project, I should make a bombproof spindle assembly for it as well.
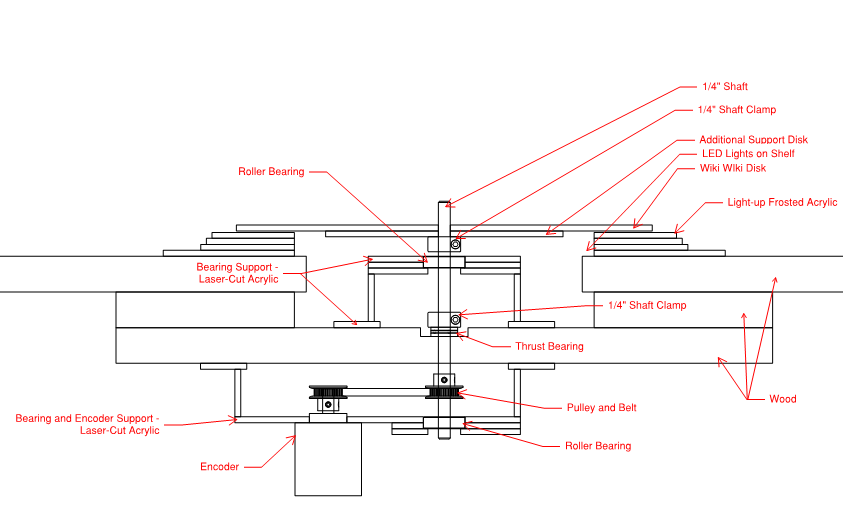
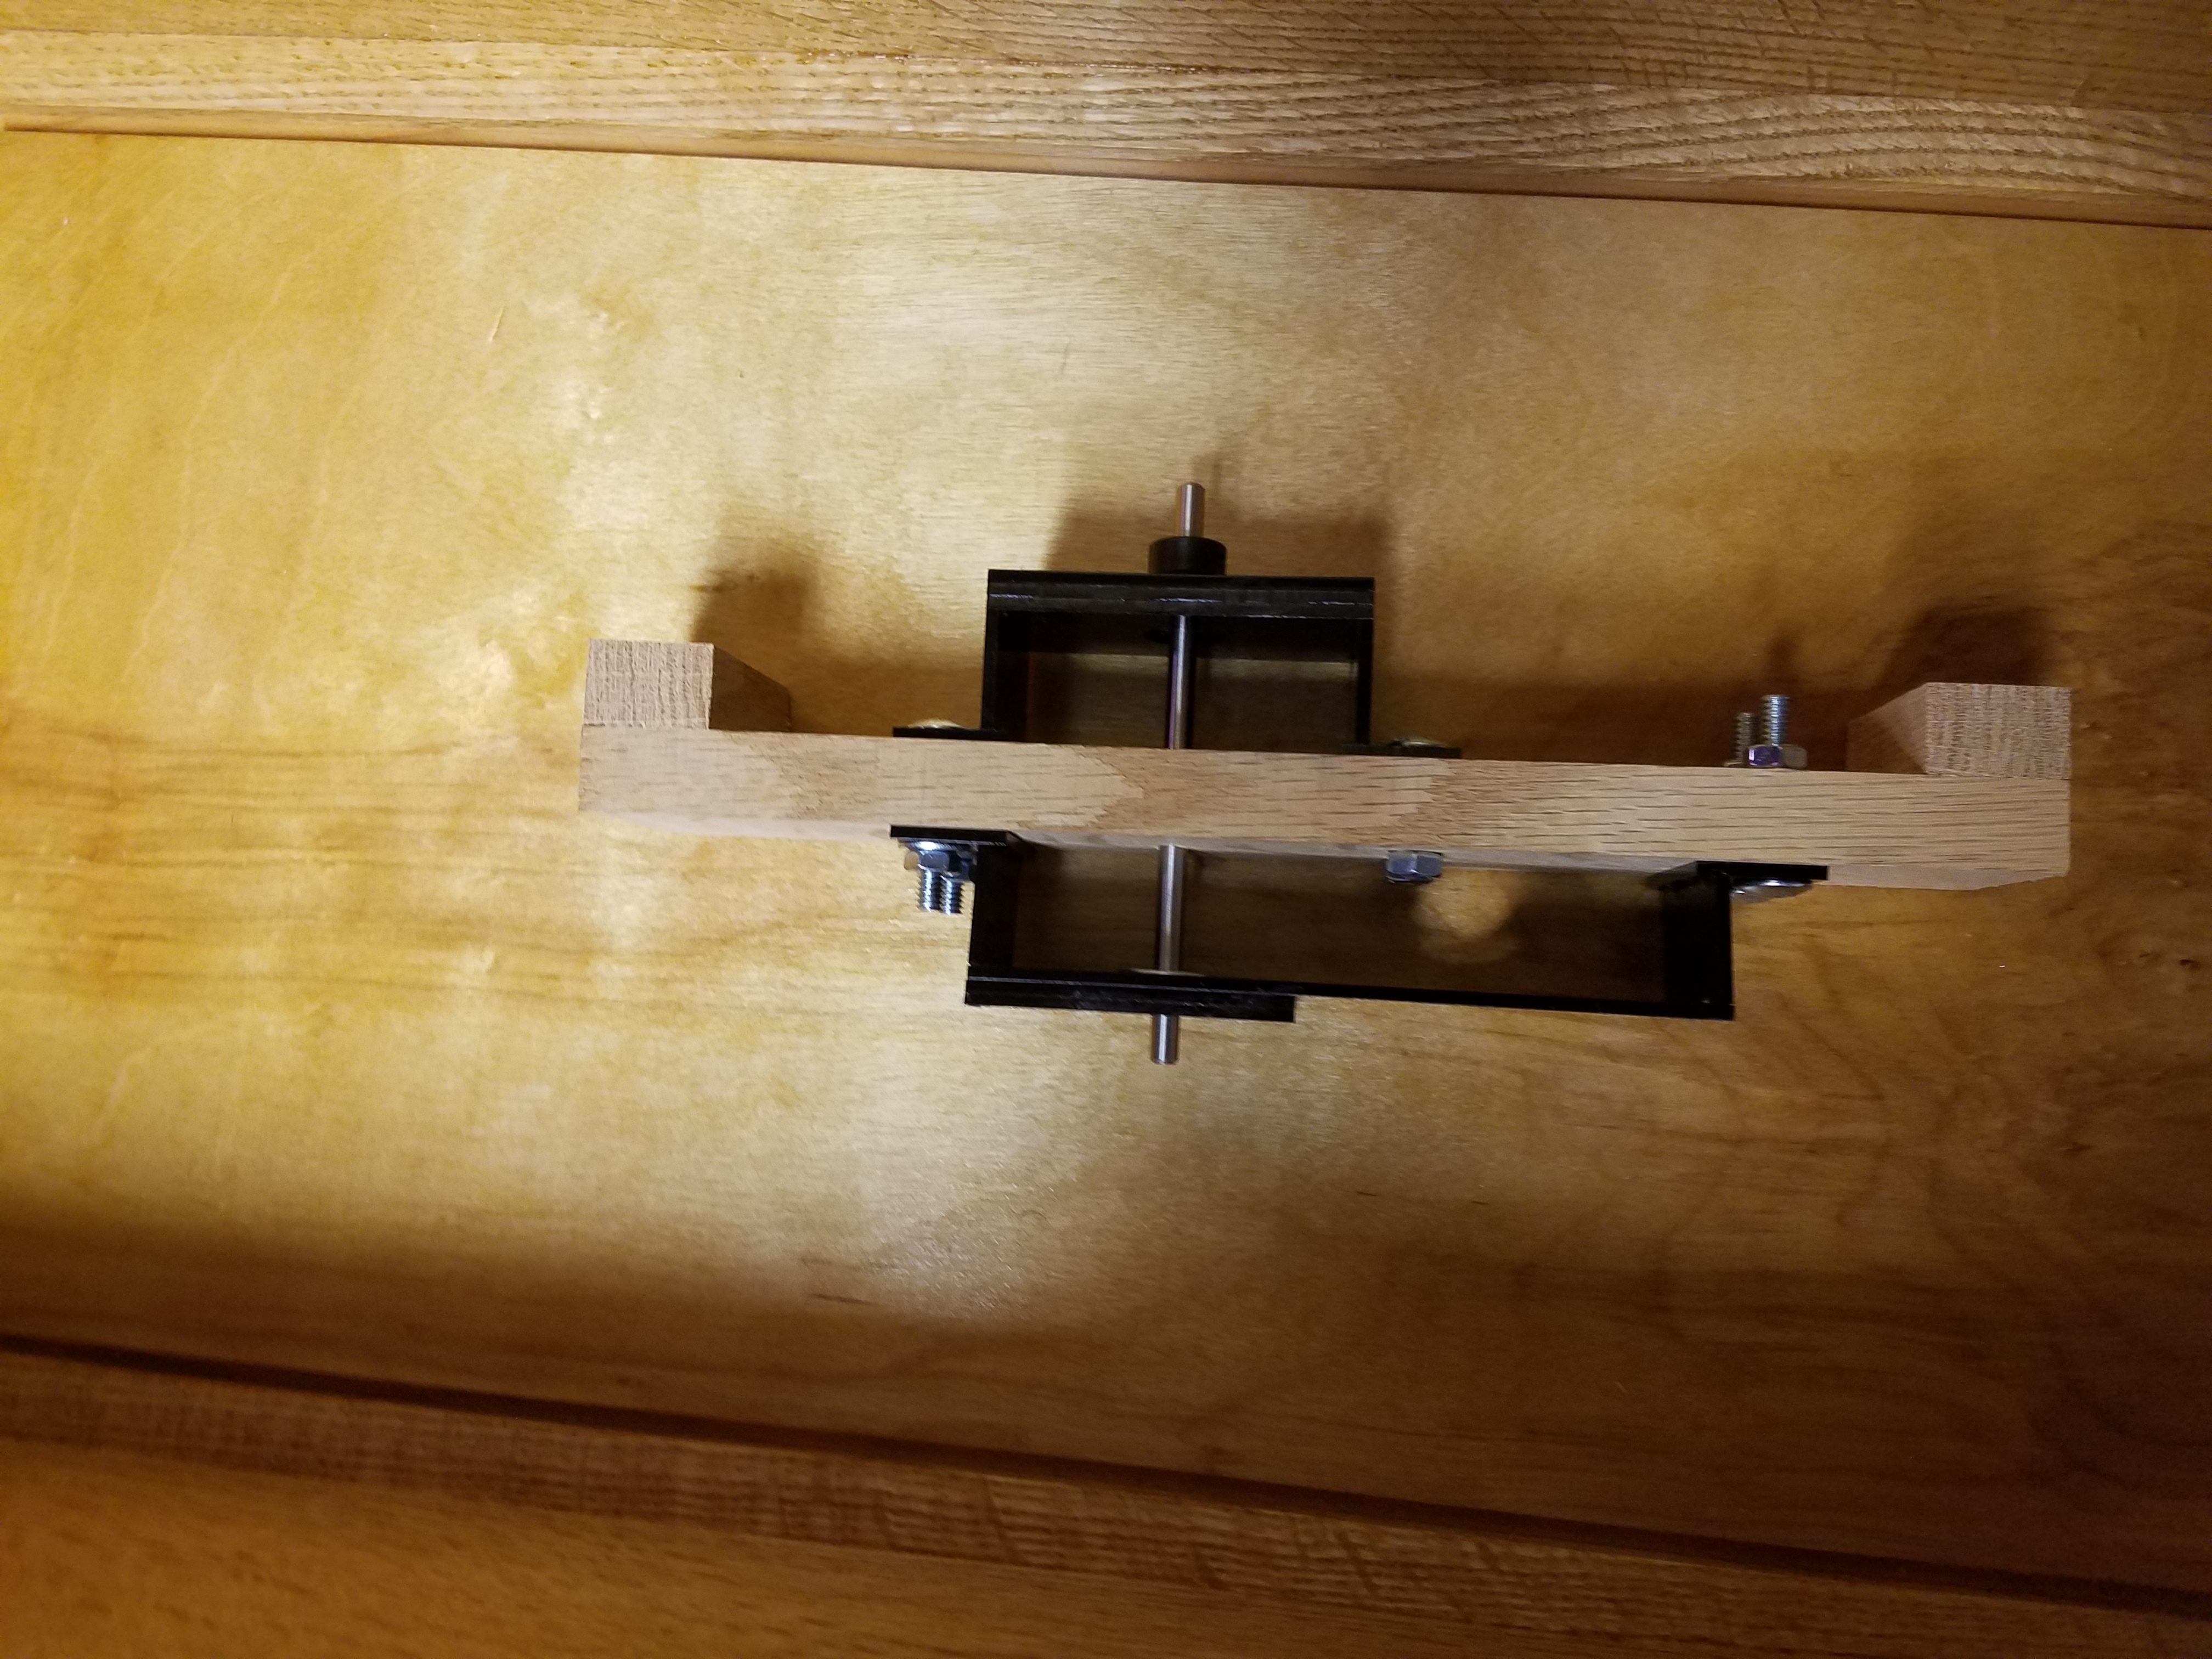
My initial design for the spindle turned out to be pretty close to what I actually built. Used some bearings and pulleys I paid way too much for on McMaster-Carr, but writing this several months of gameplay down the line, I am glad I went with something a bit overengineered and very reliable.
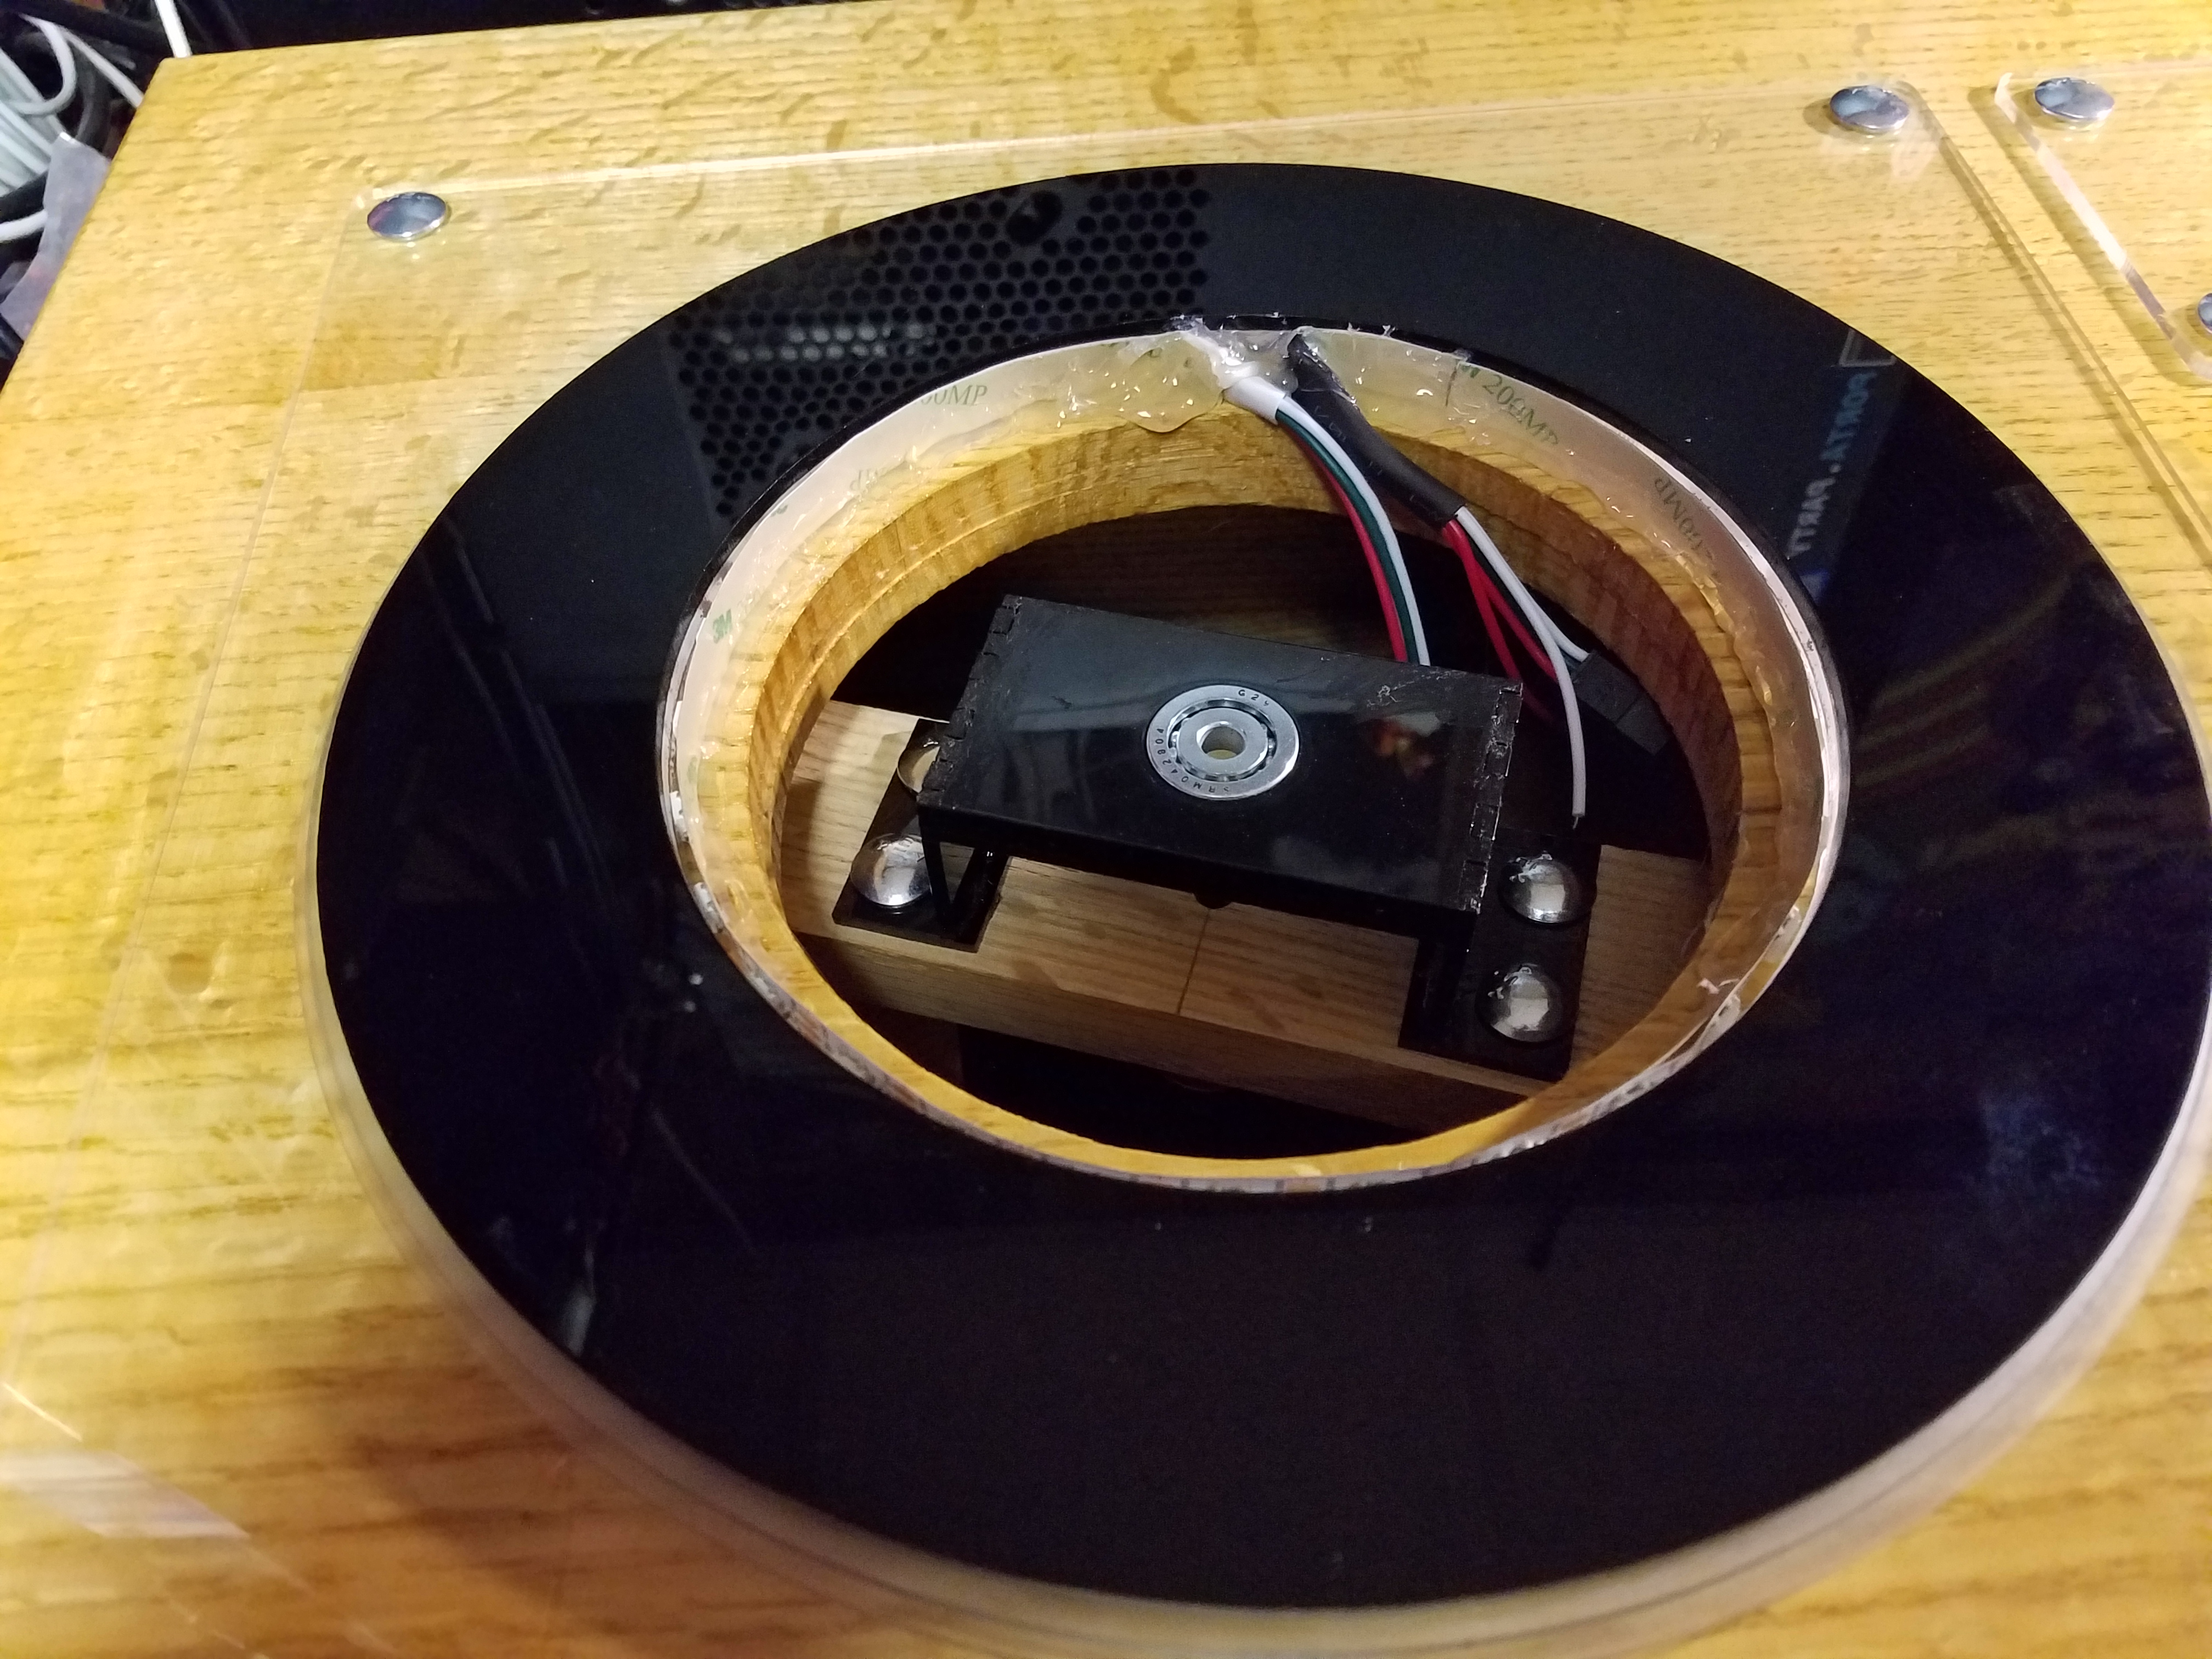
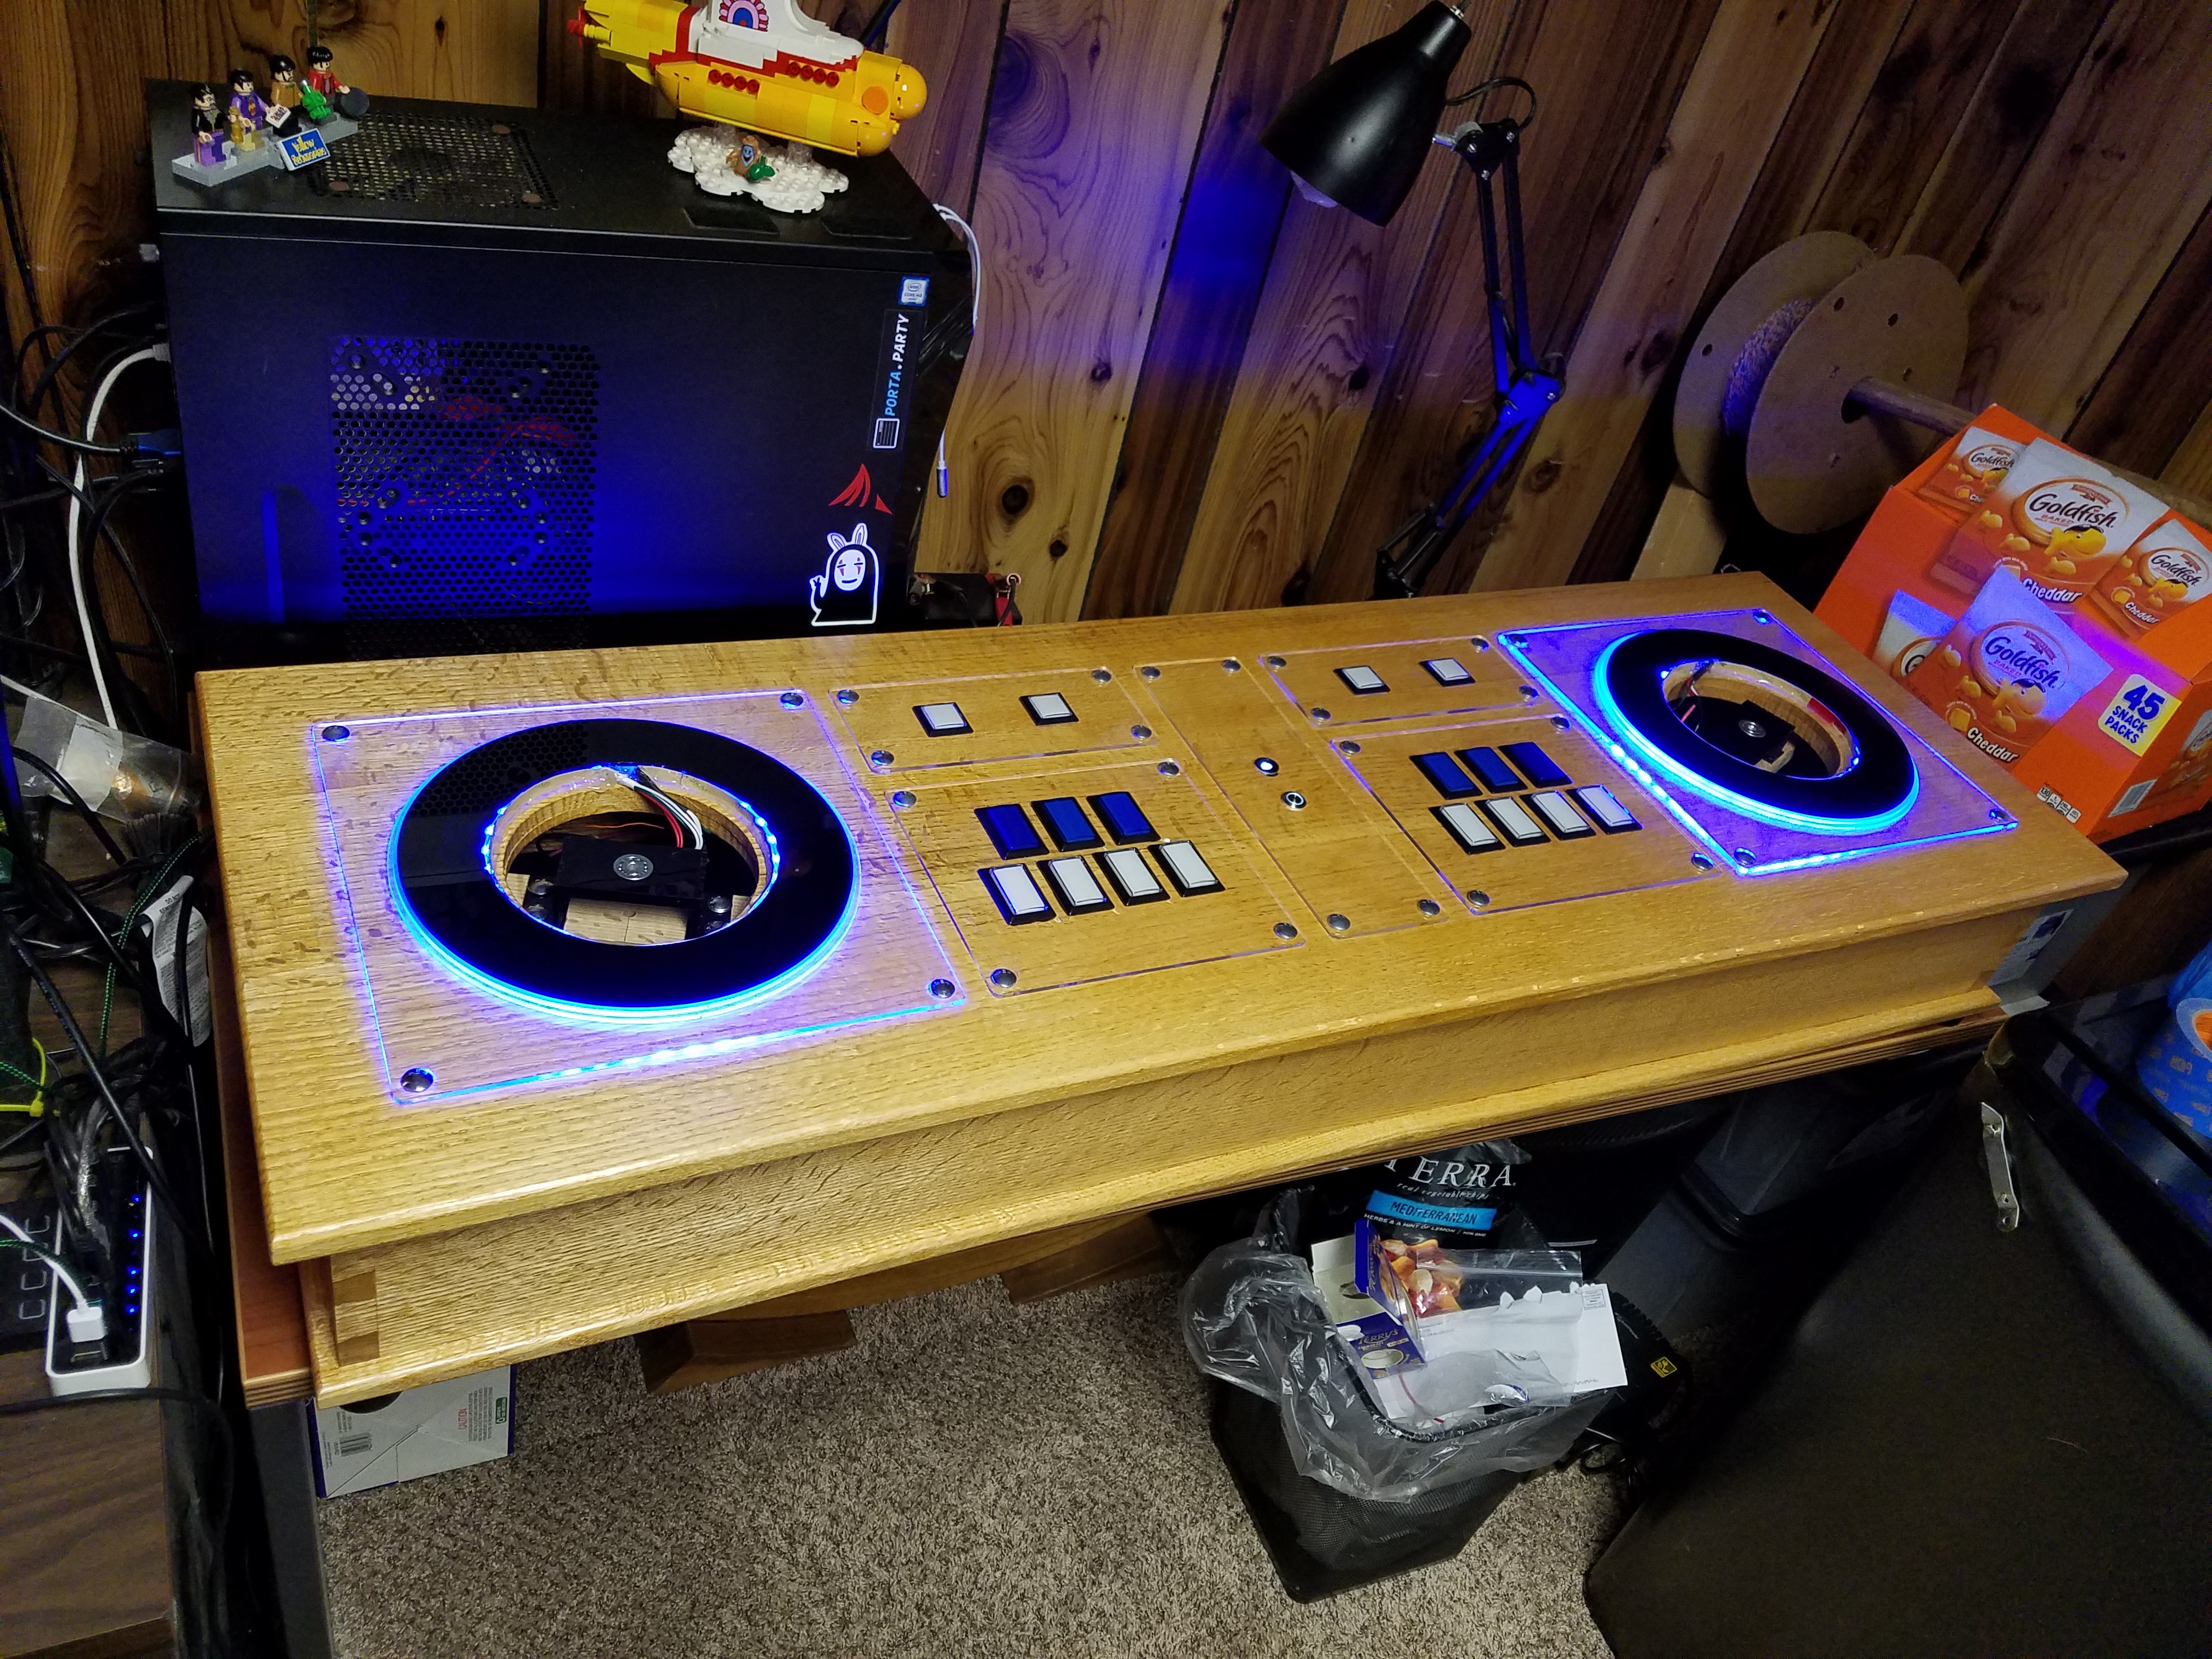
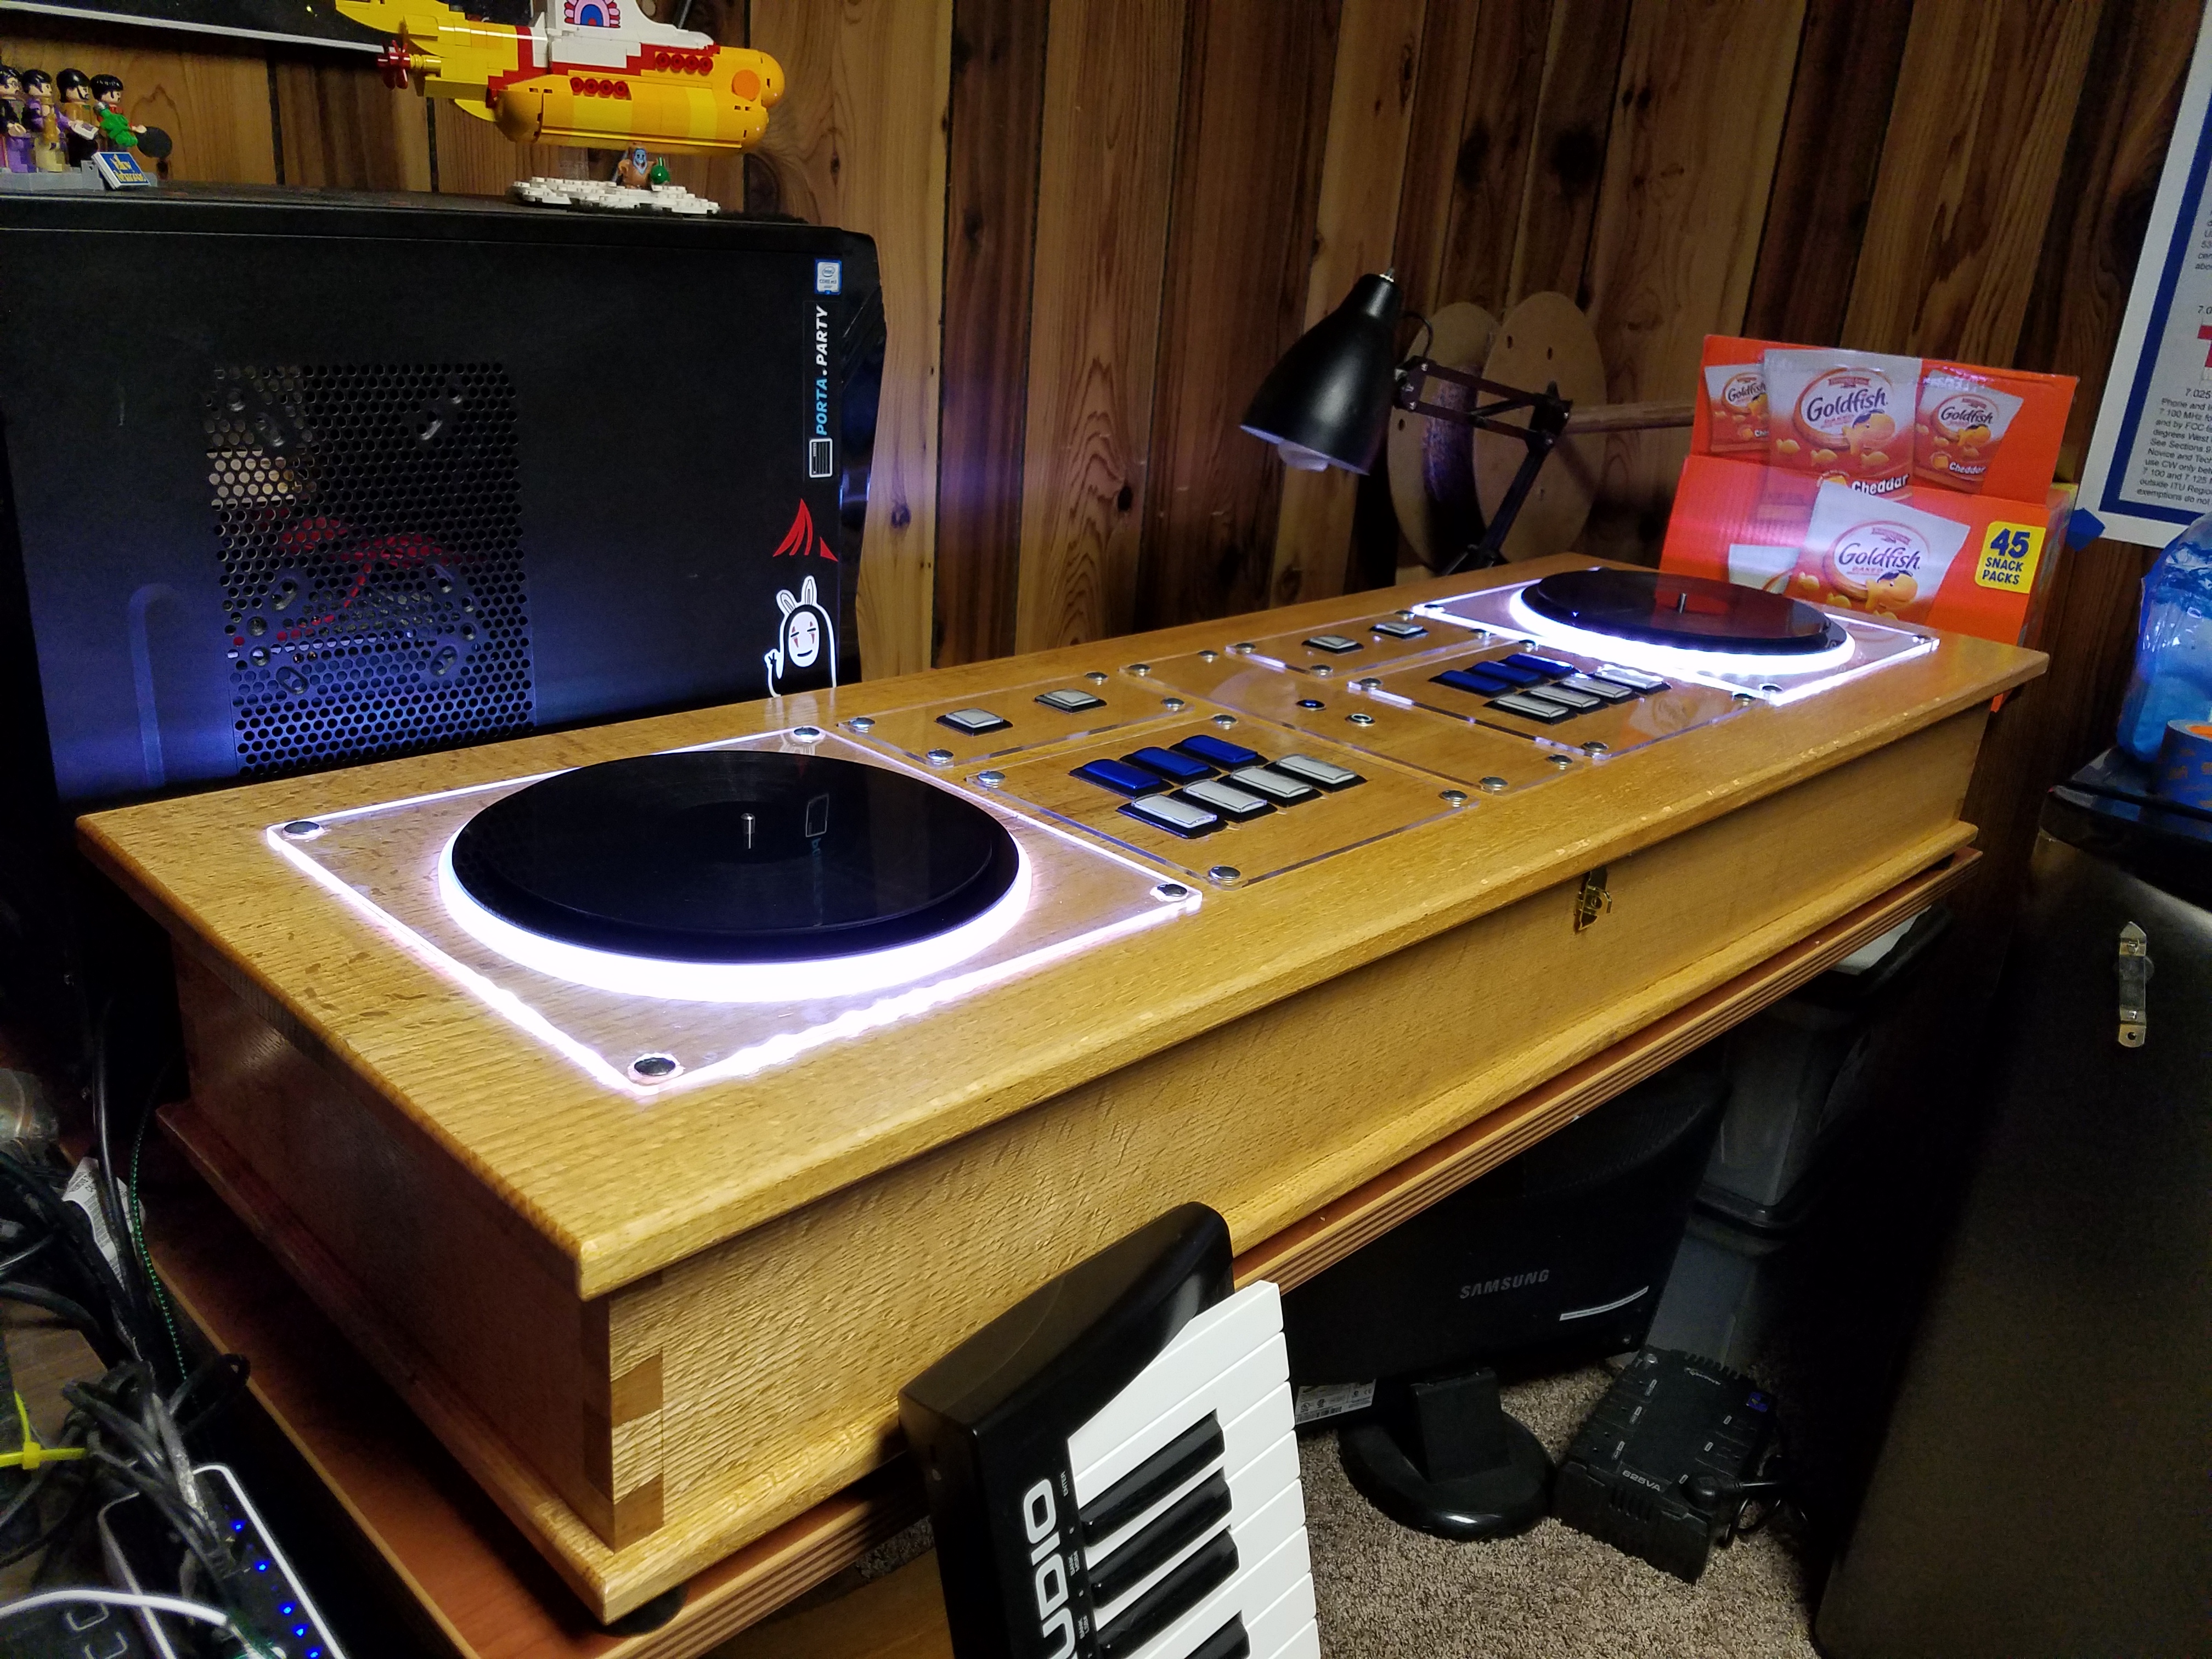
I then screwed the spindle assemblies into the top of the deck, and added the LED lighting strips. The diameter of the circle I chose ended up with 29 LEDs per side. A nice large prime number for me to deal with in my animation code. More on that in the next part.

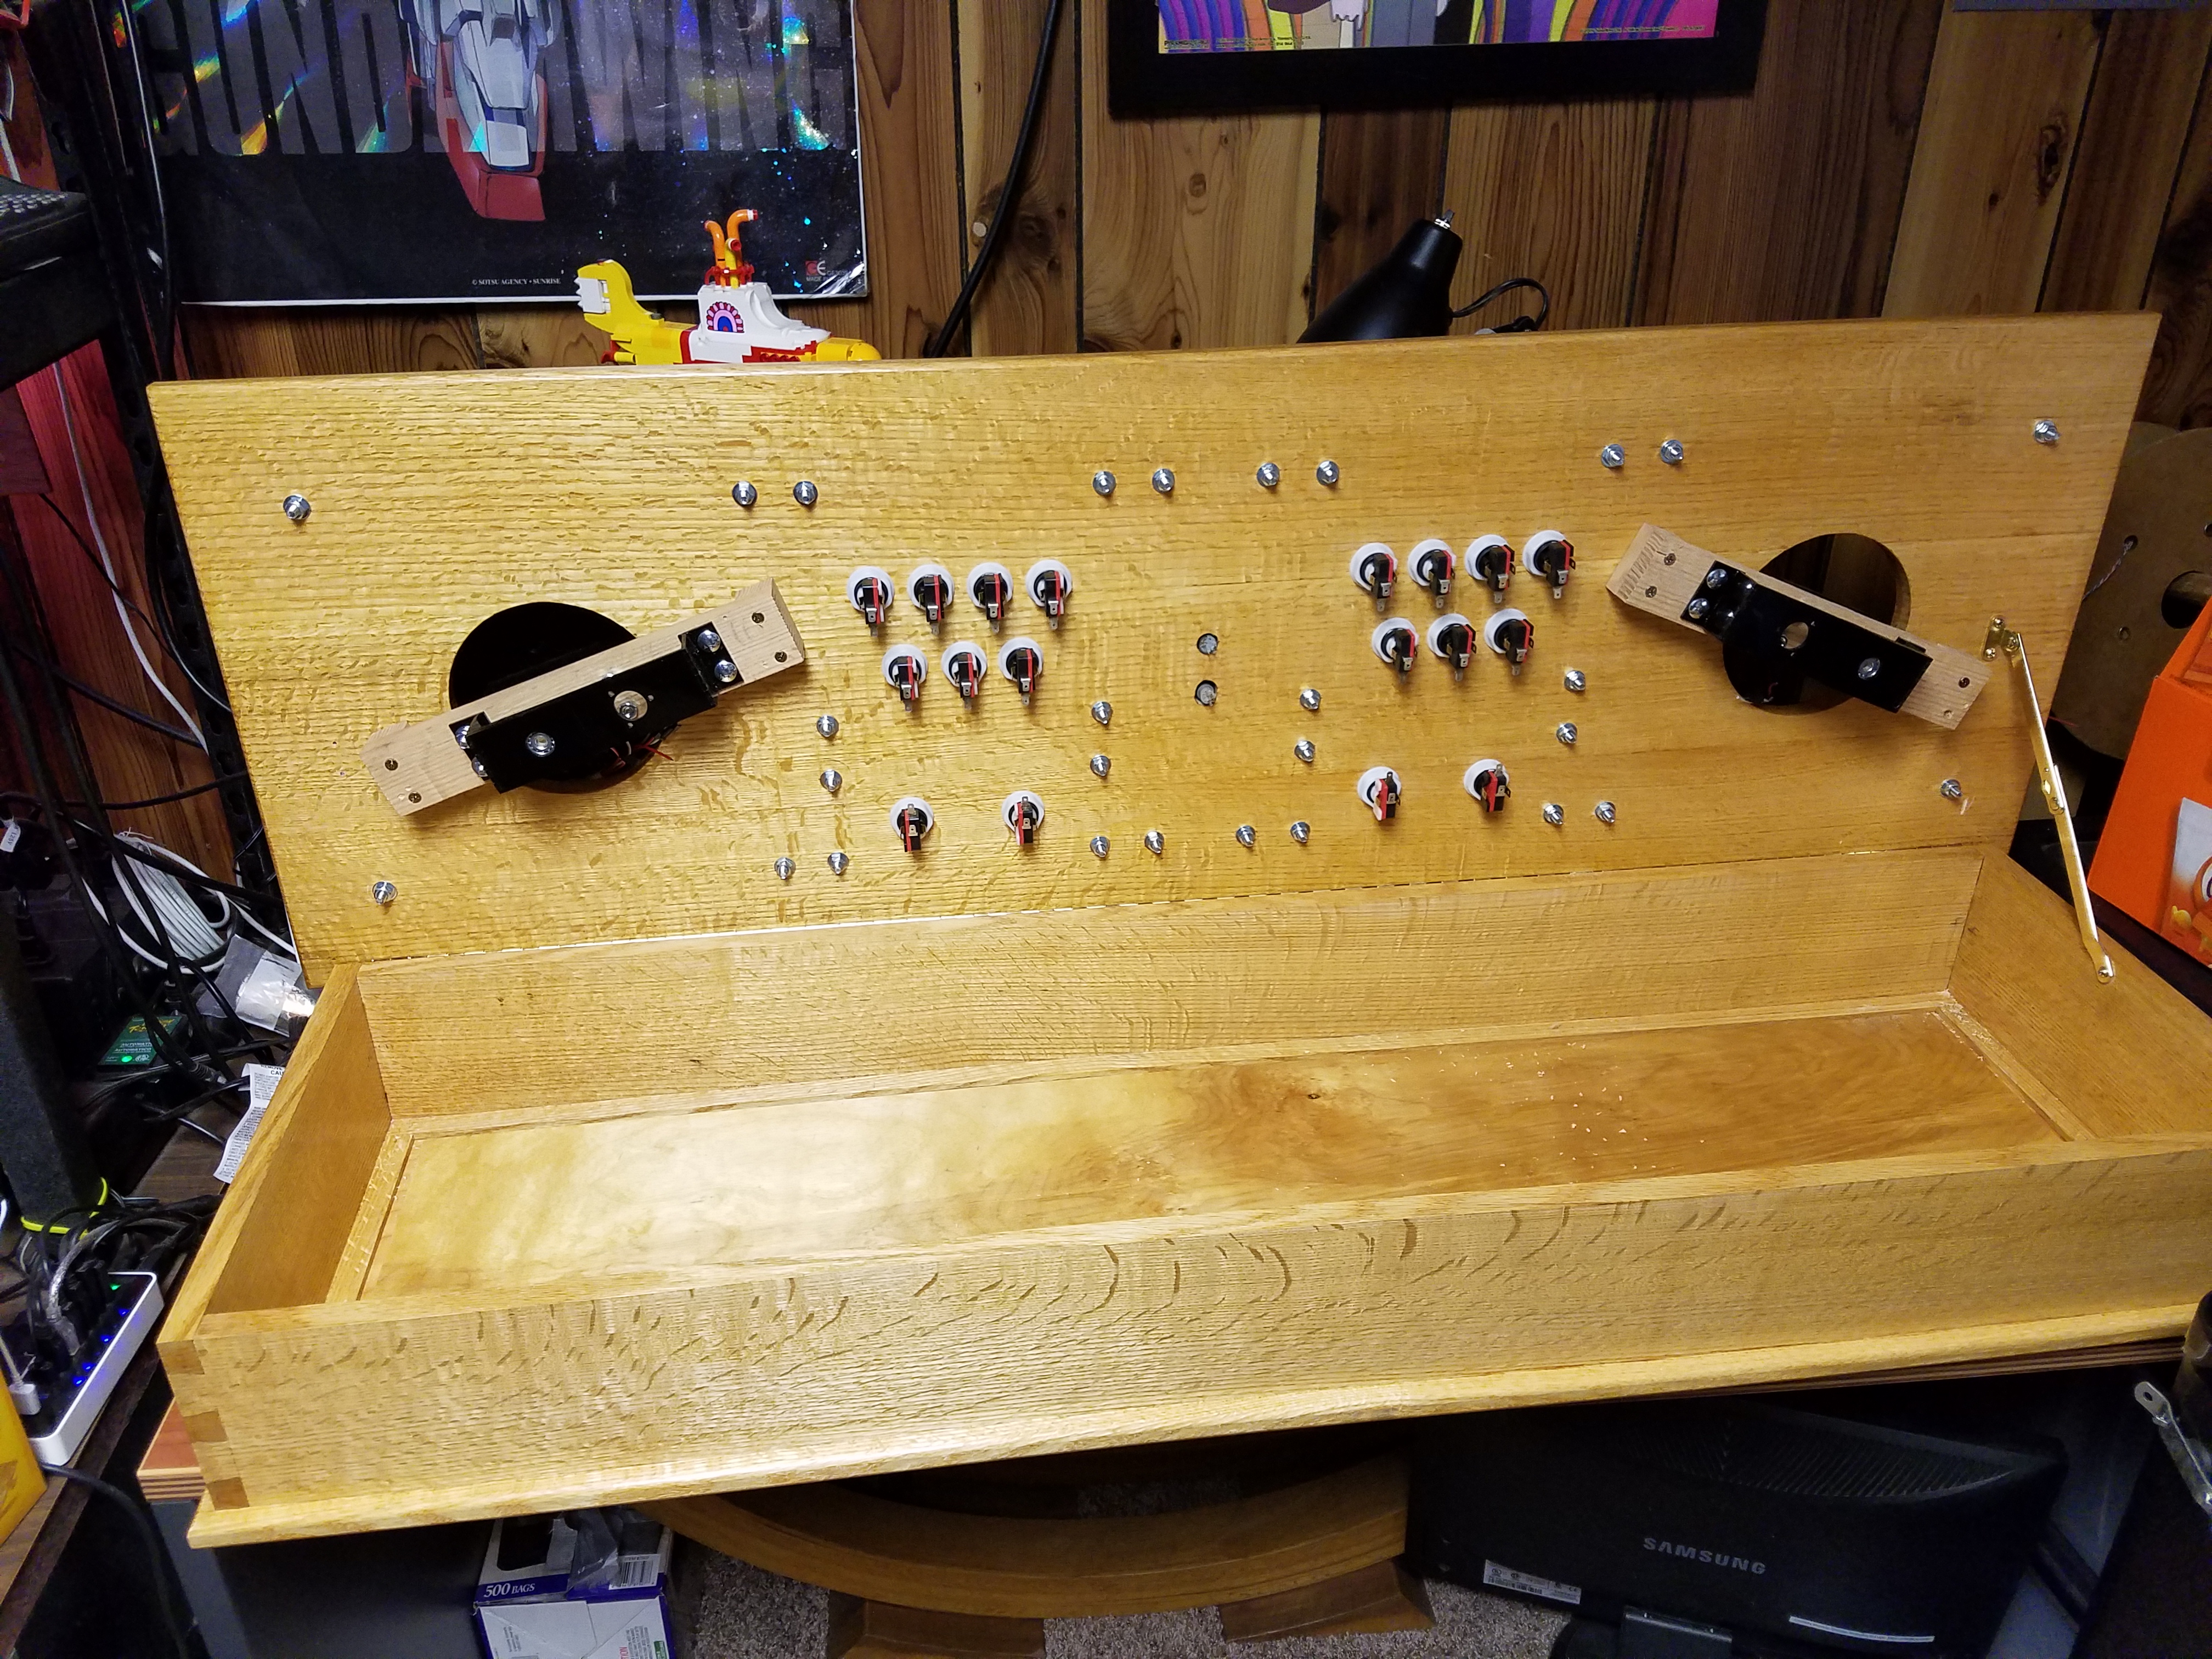
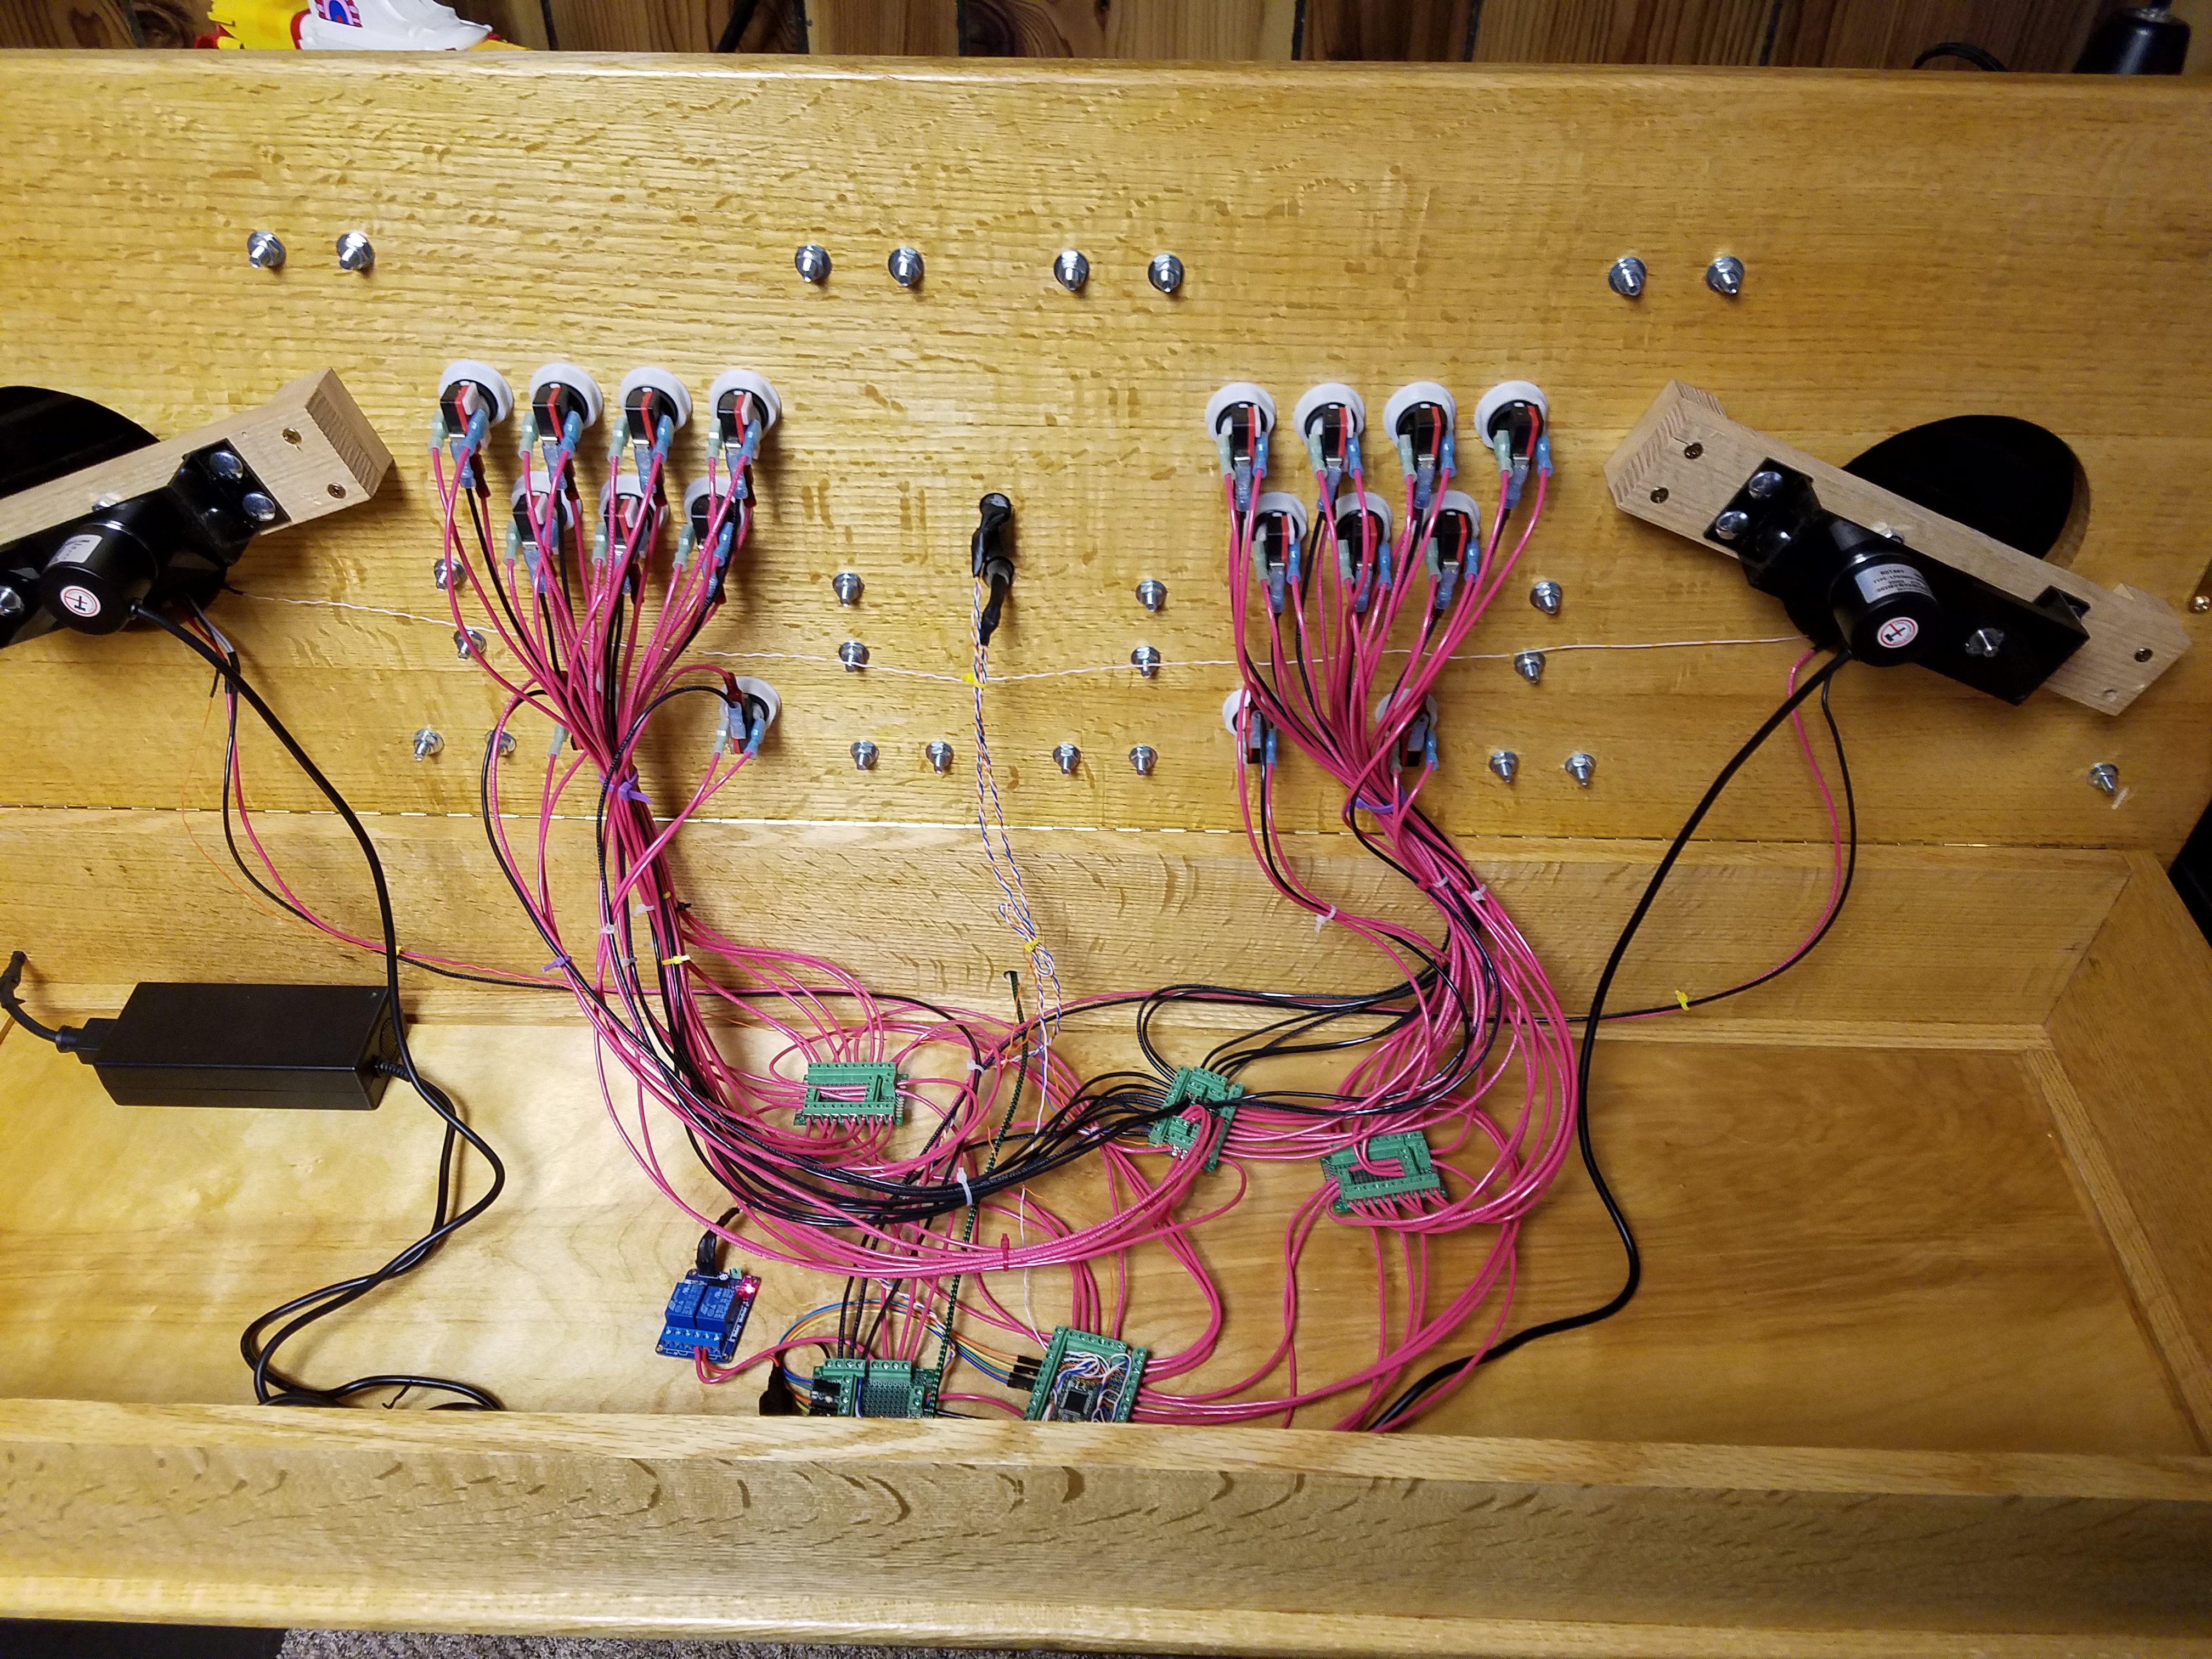
THe next step was to wire everything up. I'm using a Teensy 3.1 as the MCU. I'll put the code in the next blog post for download. The buttons needed several things connected together, so I made some distribution boards for power and multiple connections by hand. I also threw in a relay to turn off the lighting power if the USB was unplugged, as the controller is powered only over USB.


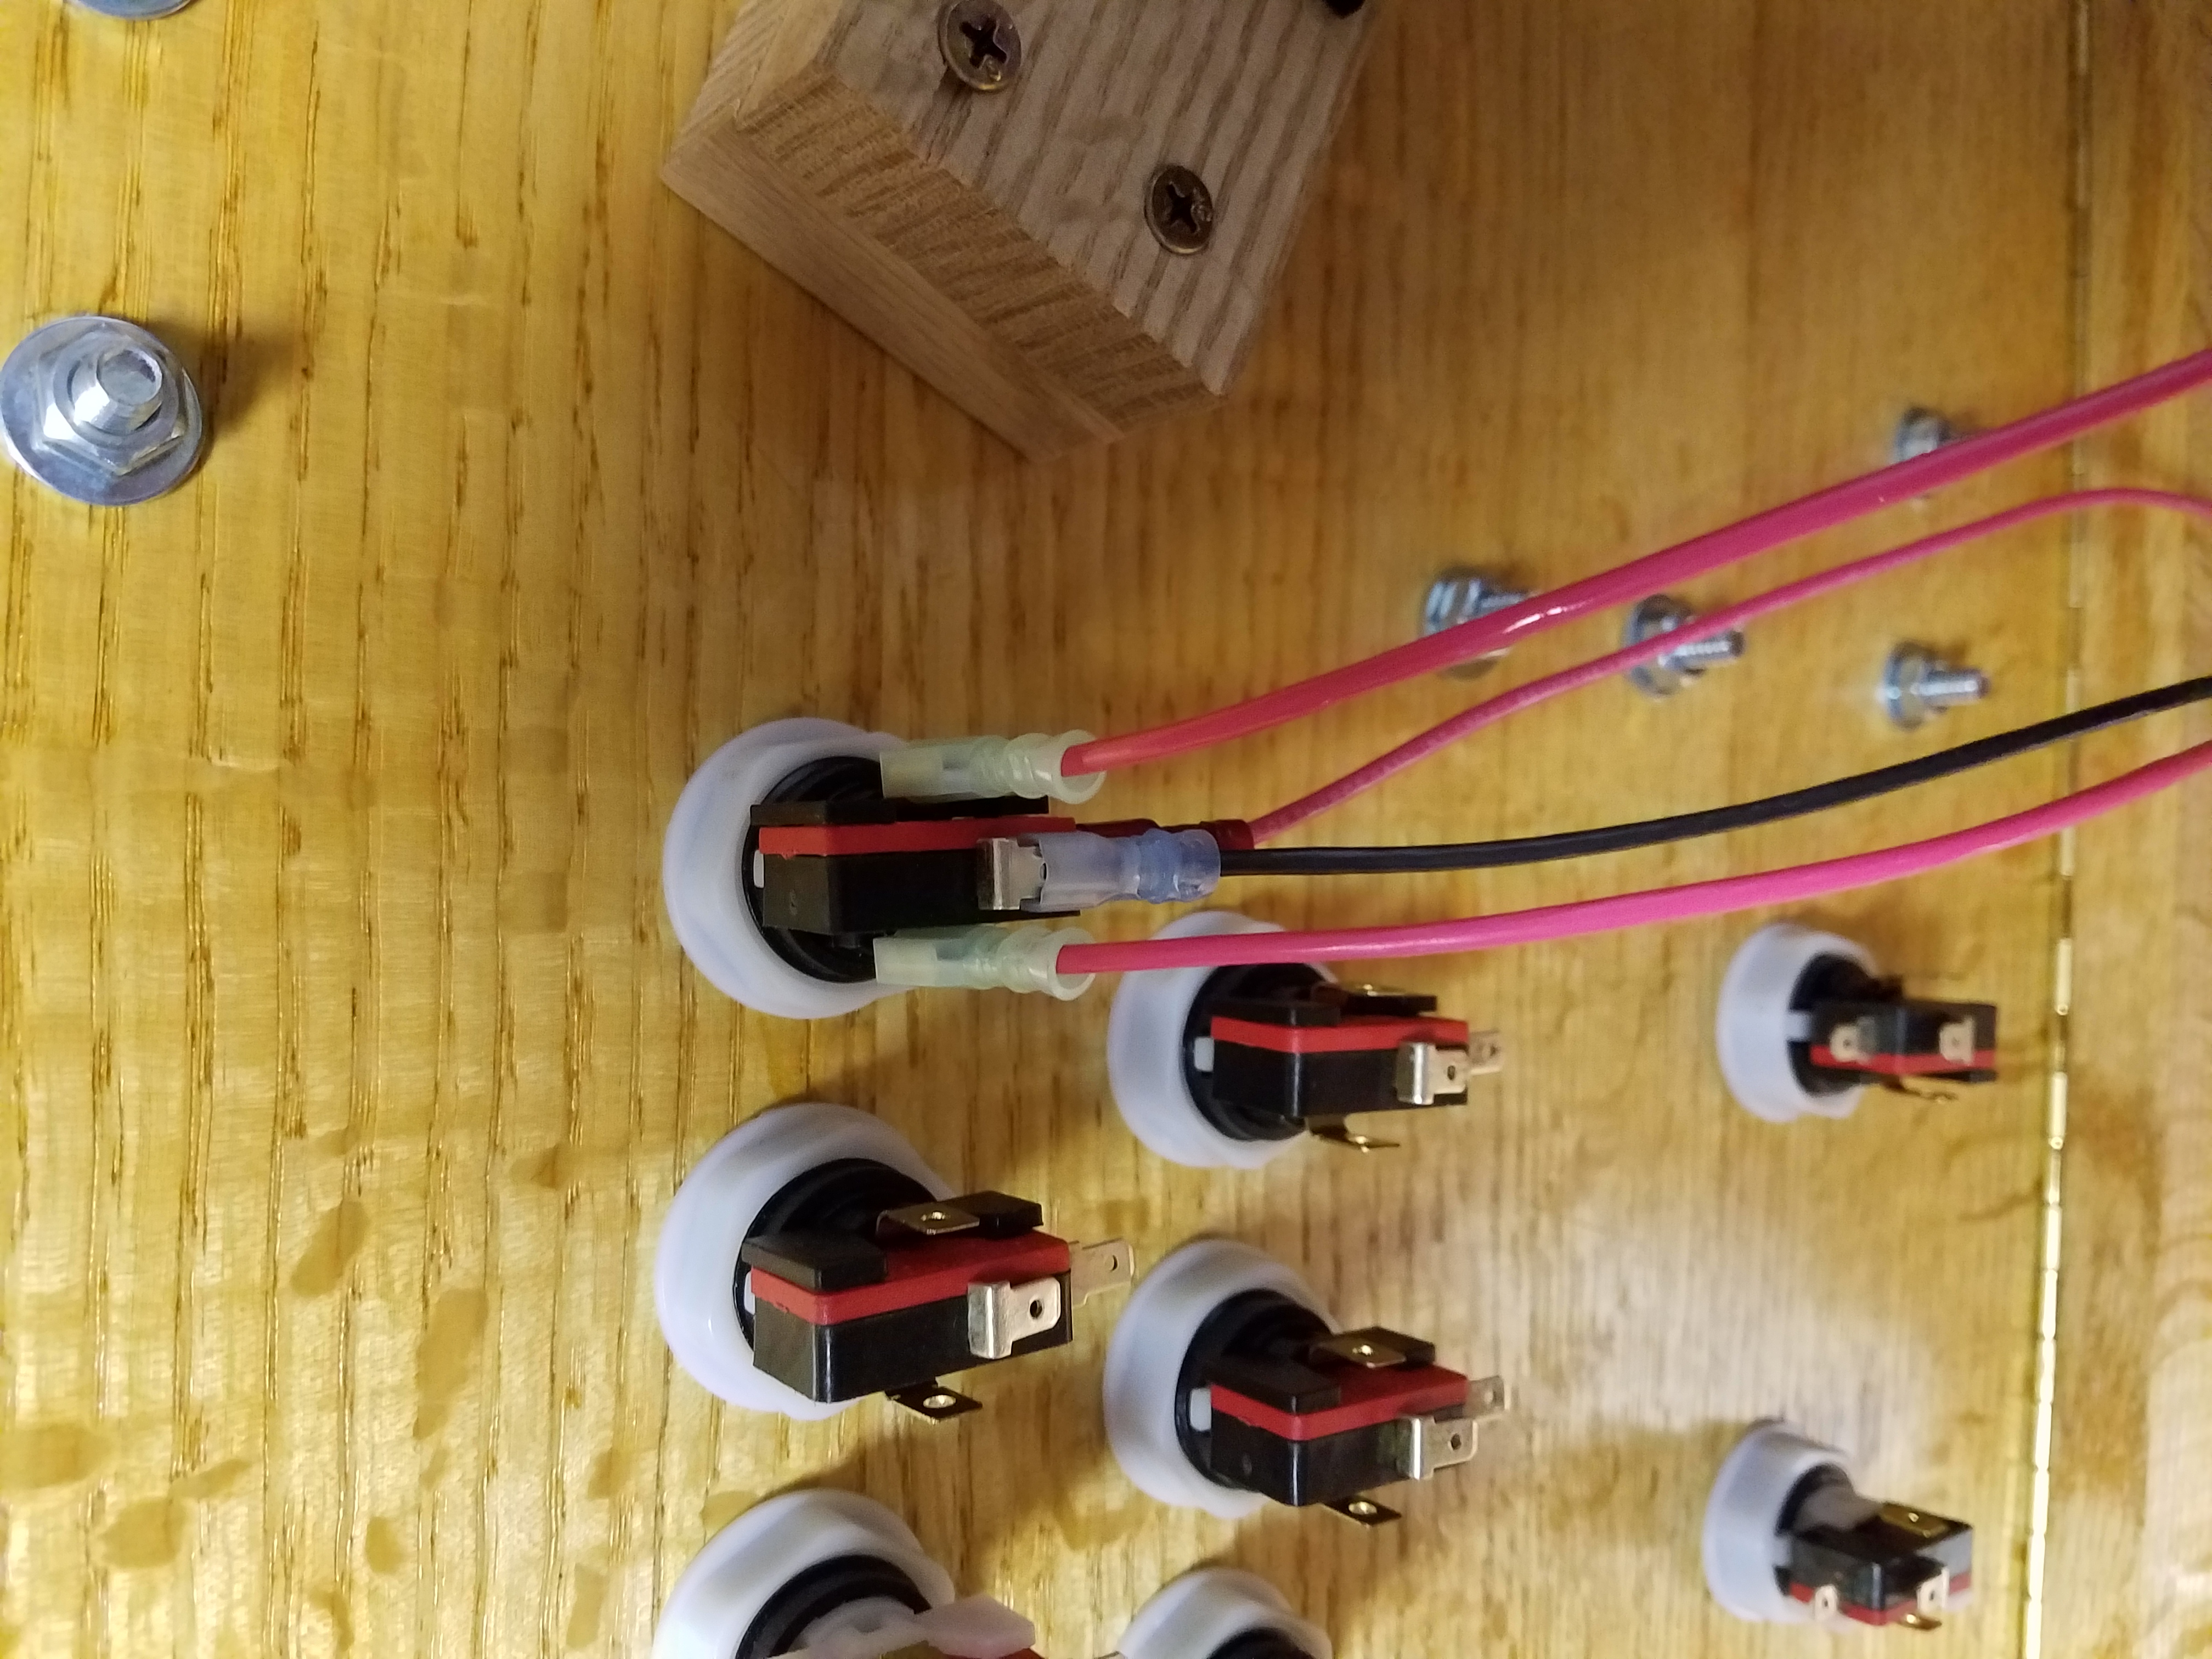
I then did some initial lighting and button wiring tests to make sure all was well before I finished wiring everything.


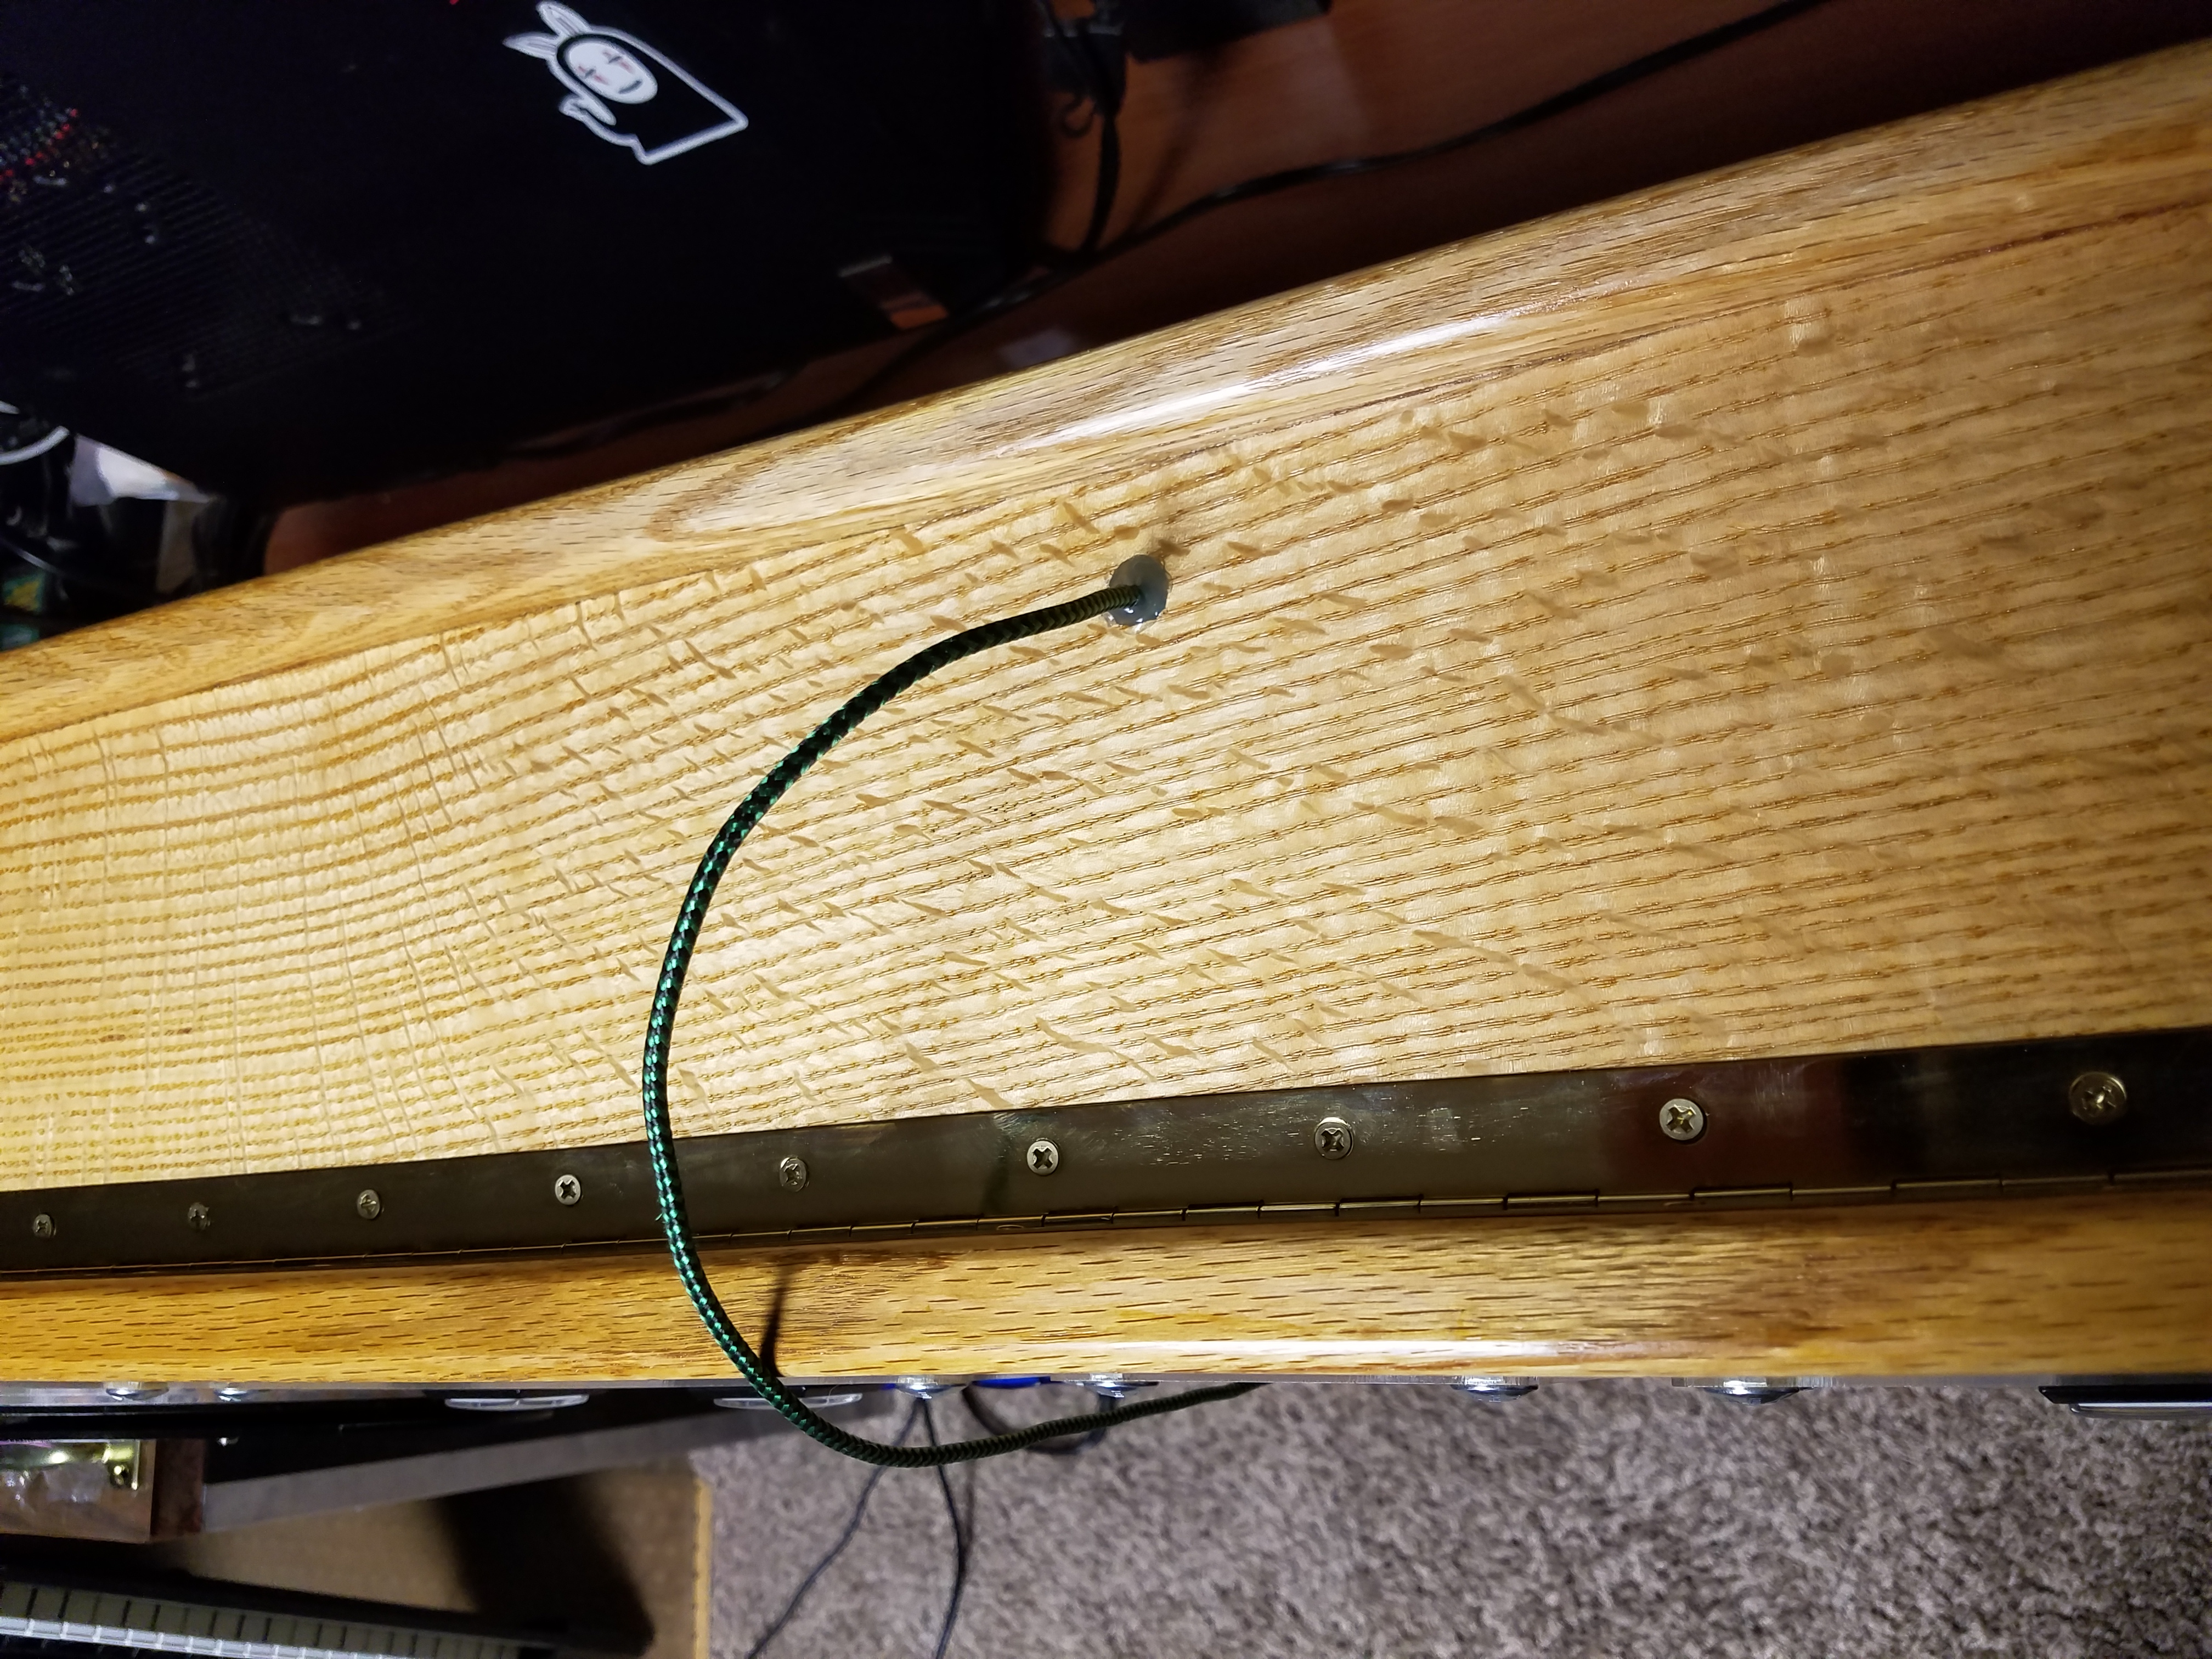
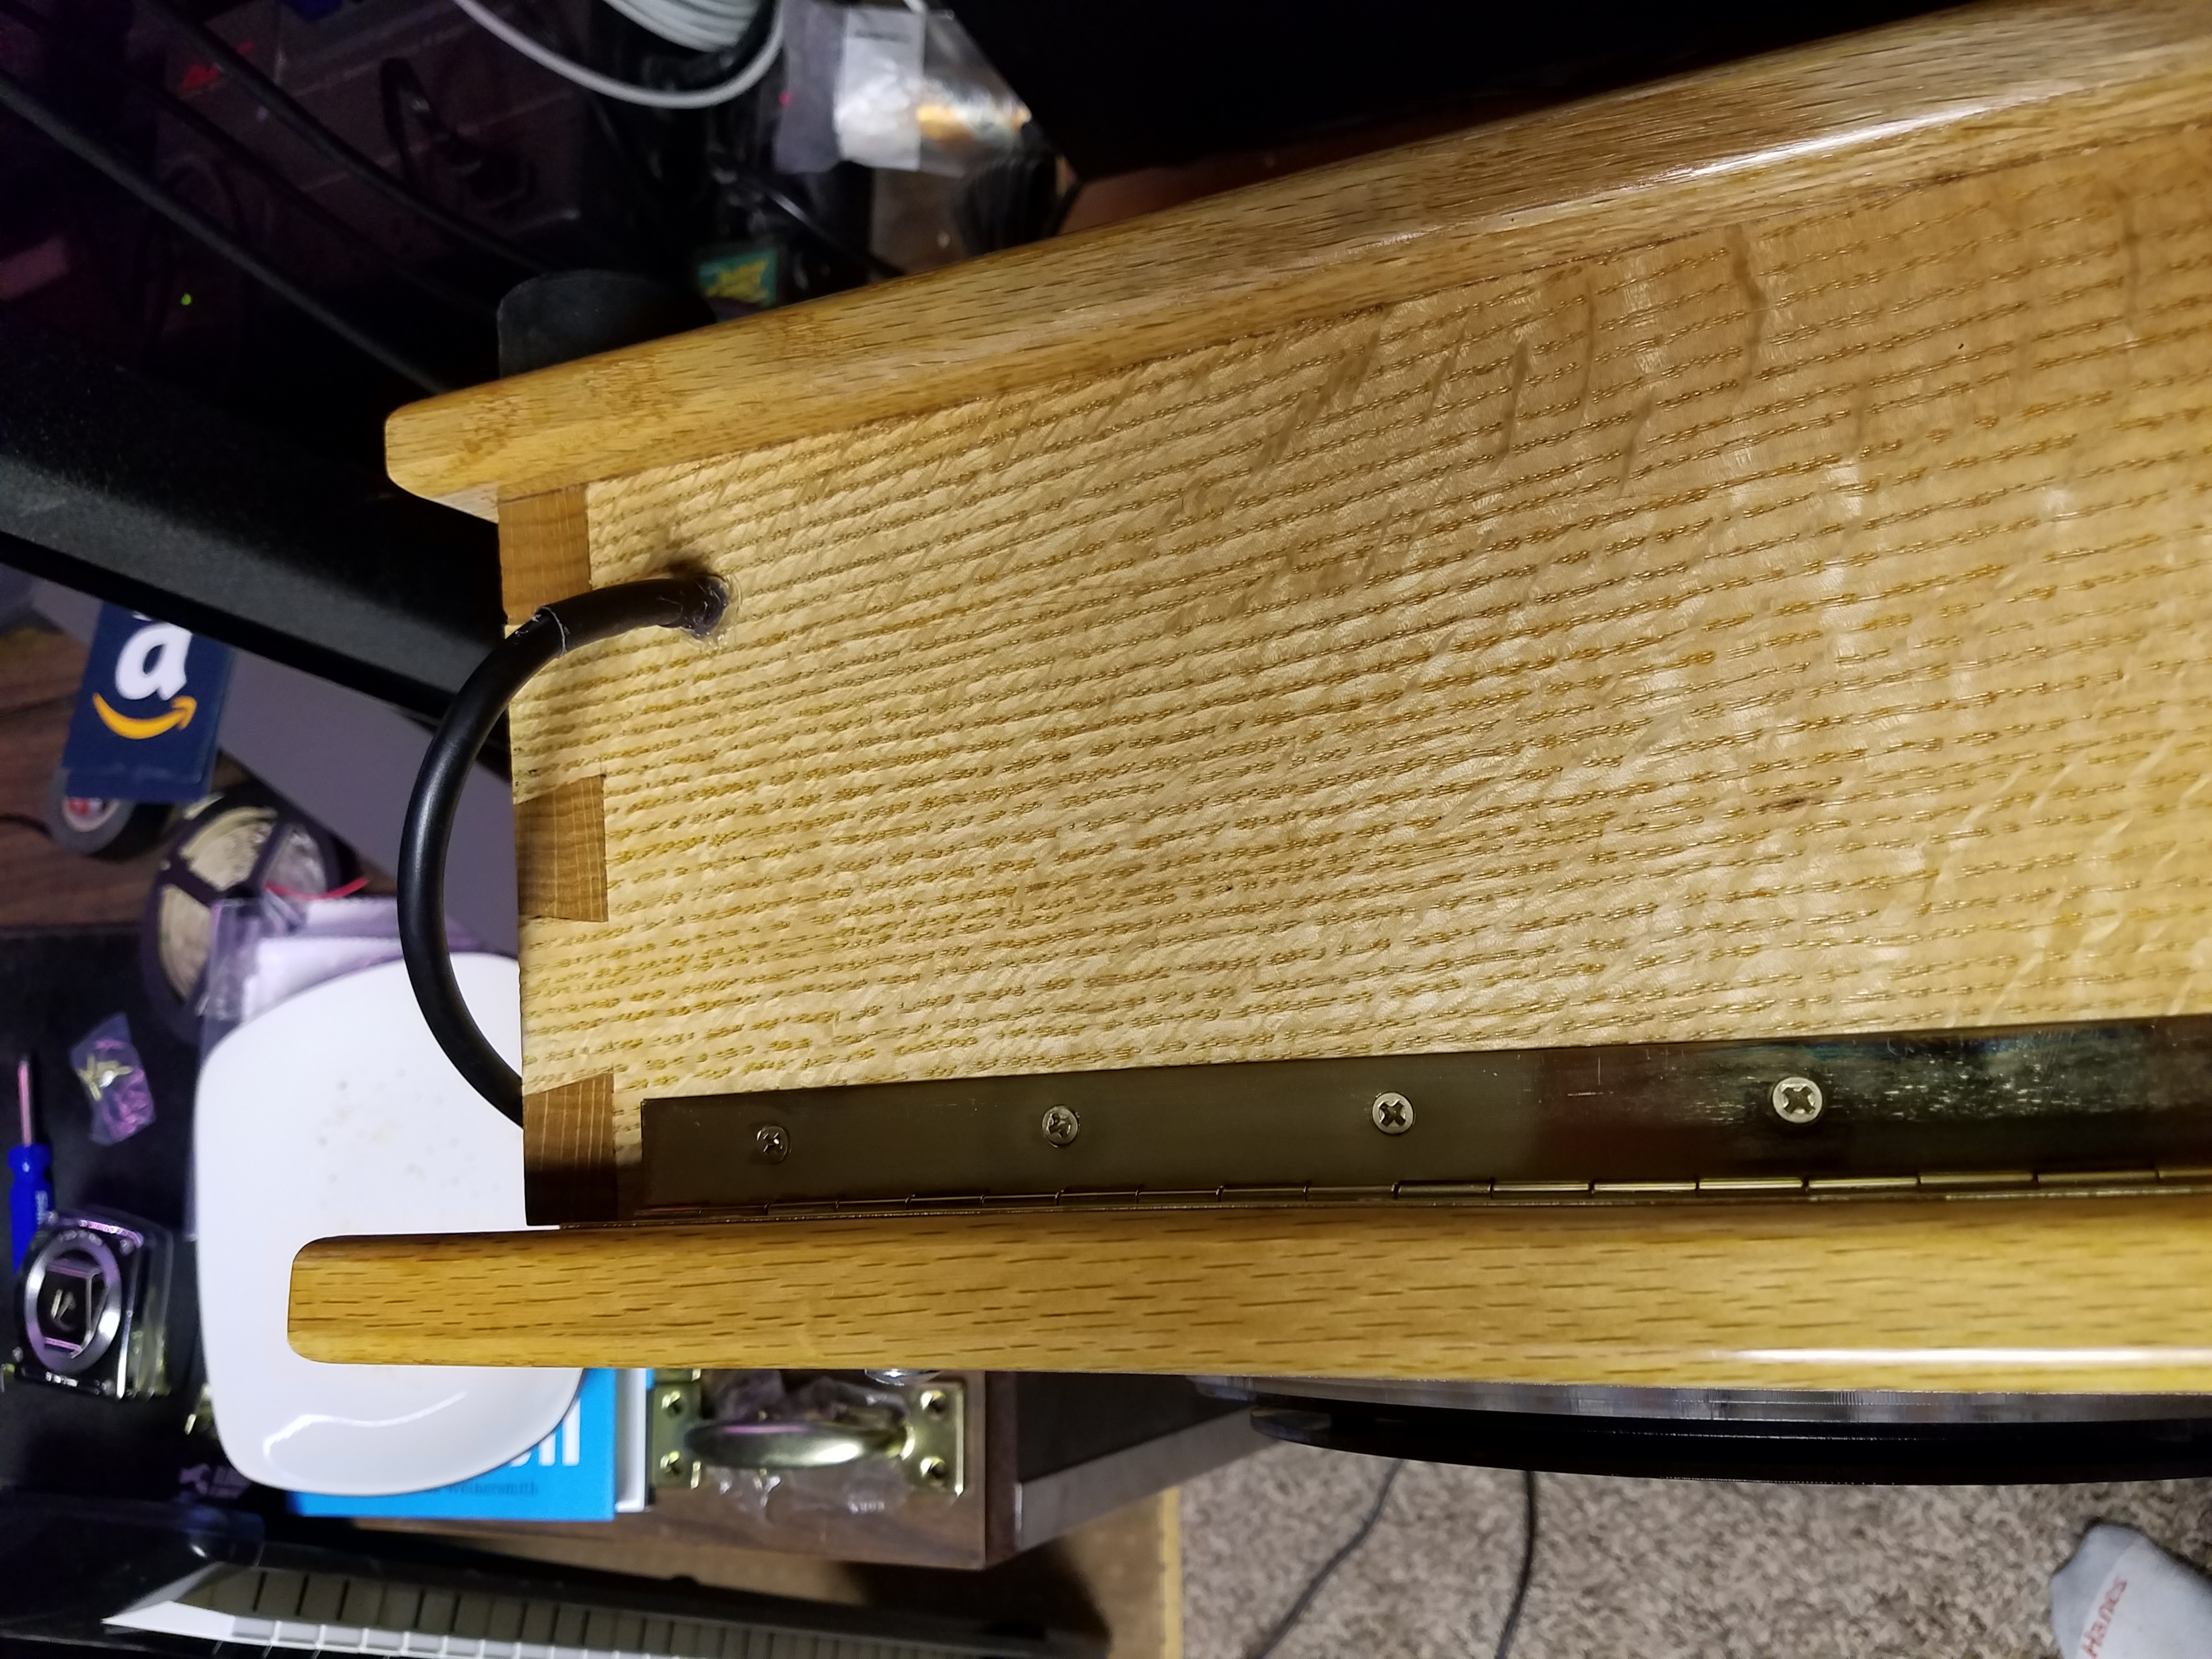
I ended up drilling holes for the power cord and USB cable, and added some handles on the back to make transport easier, as well as a latch on the front to keep the lid from popping open when moving it.

Now it was all wired. Had to fix a couple bad connections, but it was ready for programming and lighting business. I'll cover the programming and color modes in Part 4.
