oMIDItone - Part 1
Date Published: 2018-12-20
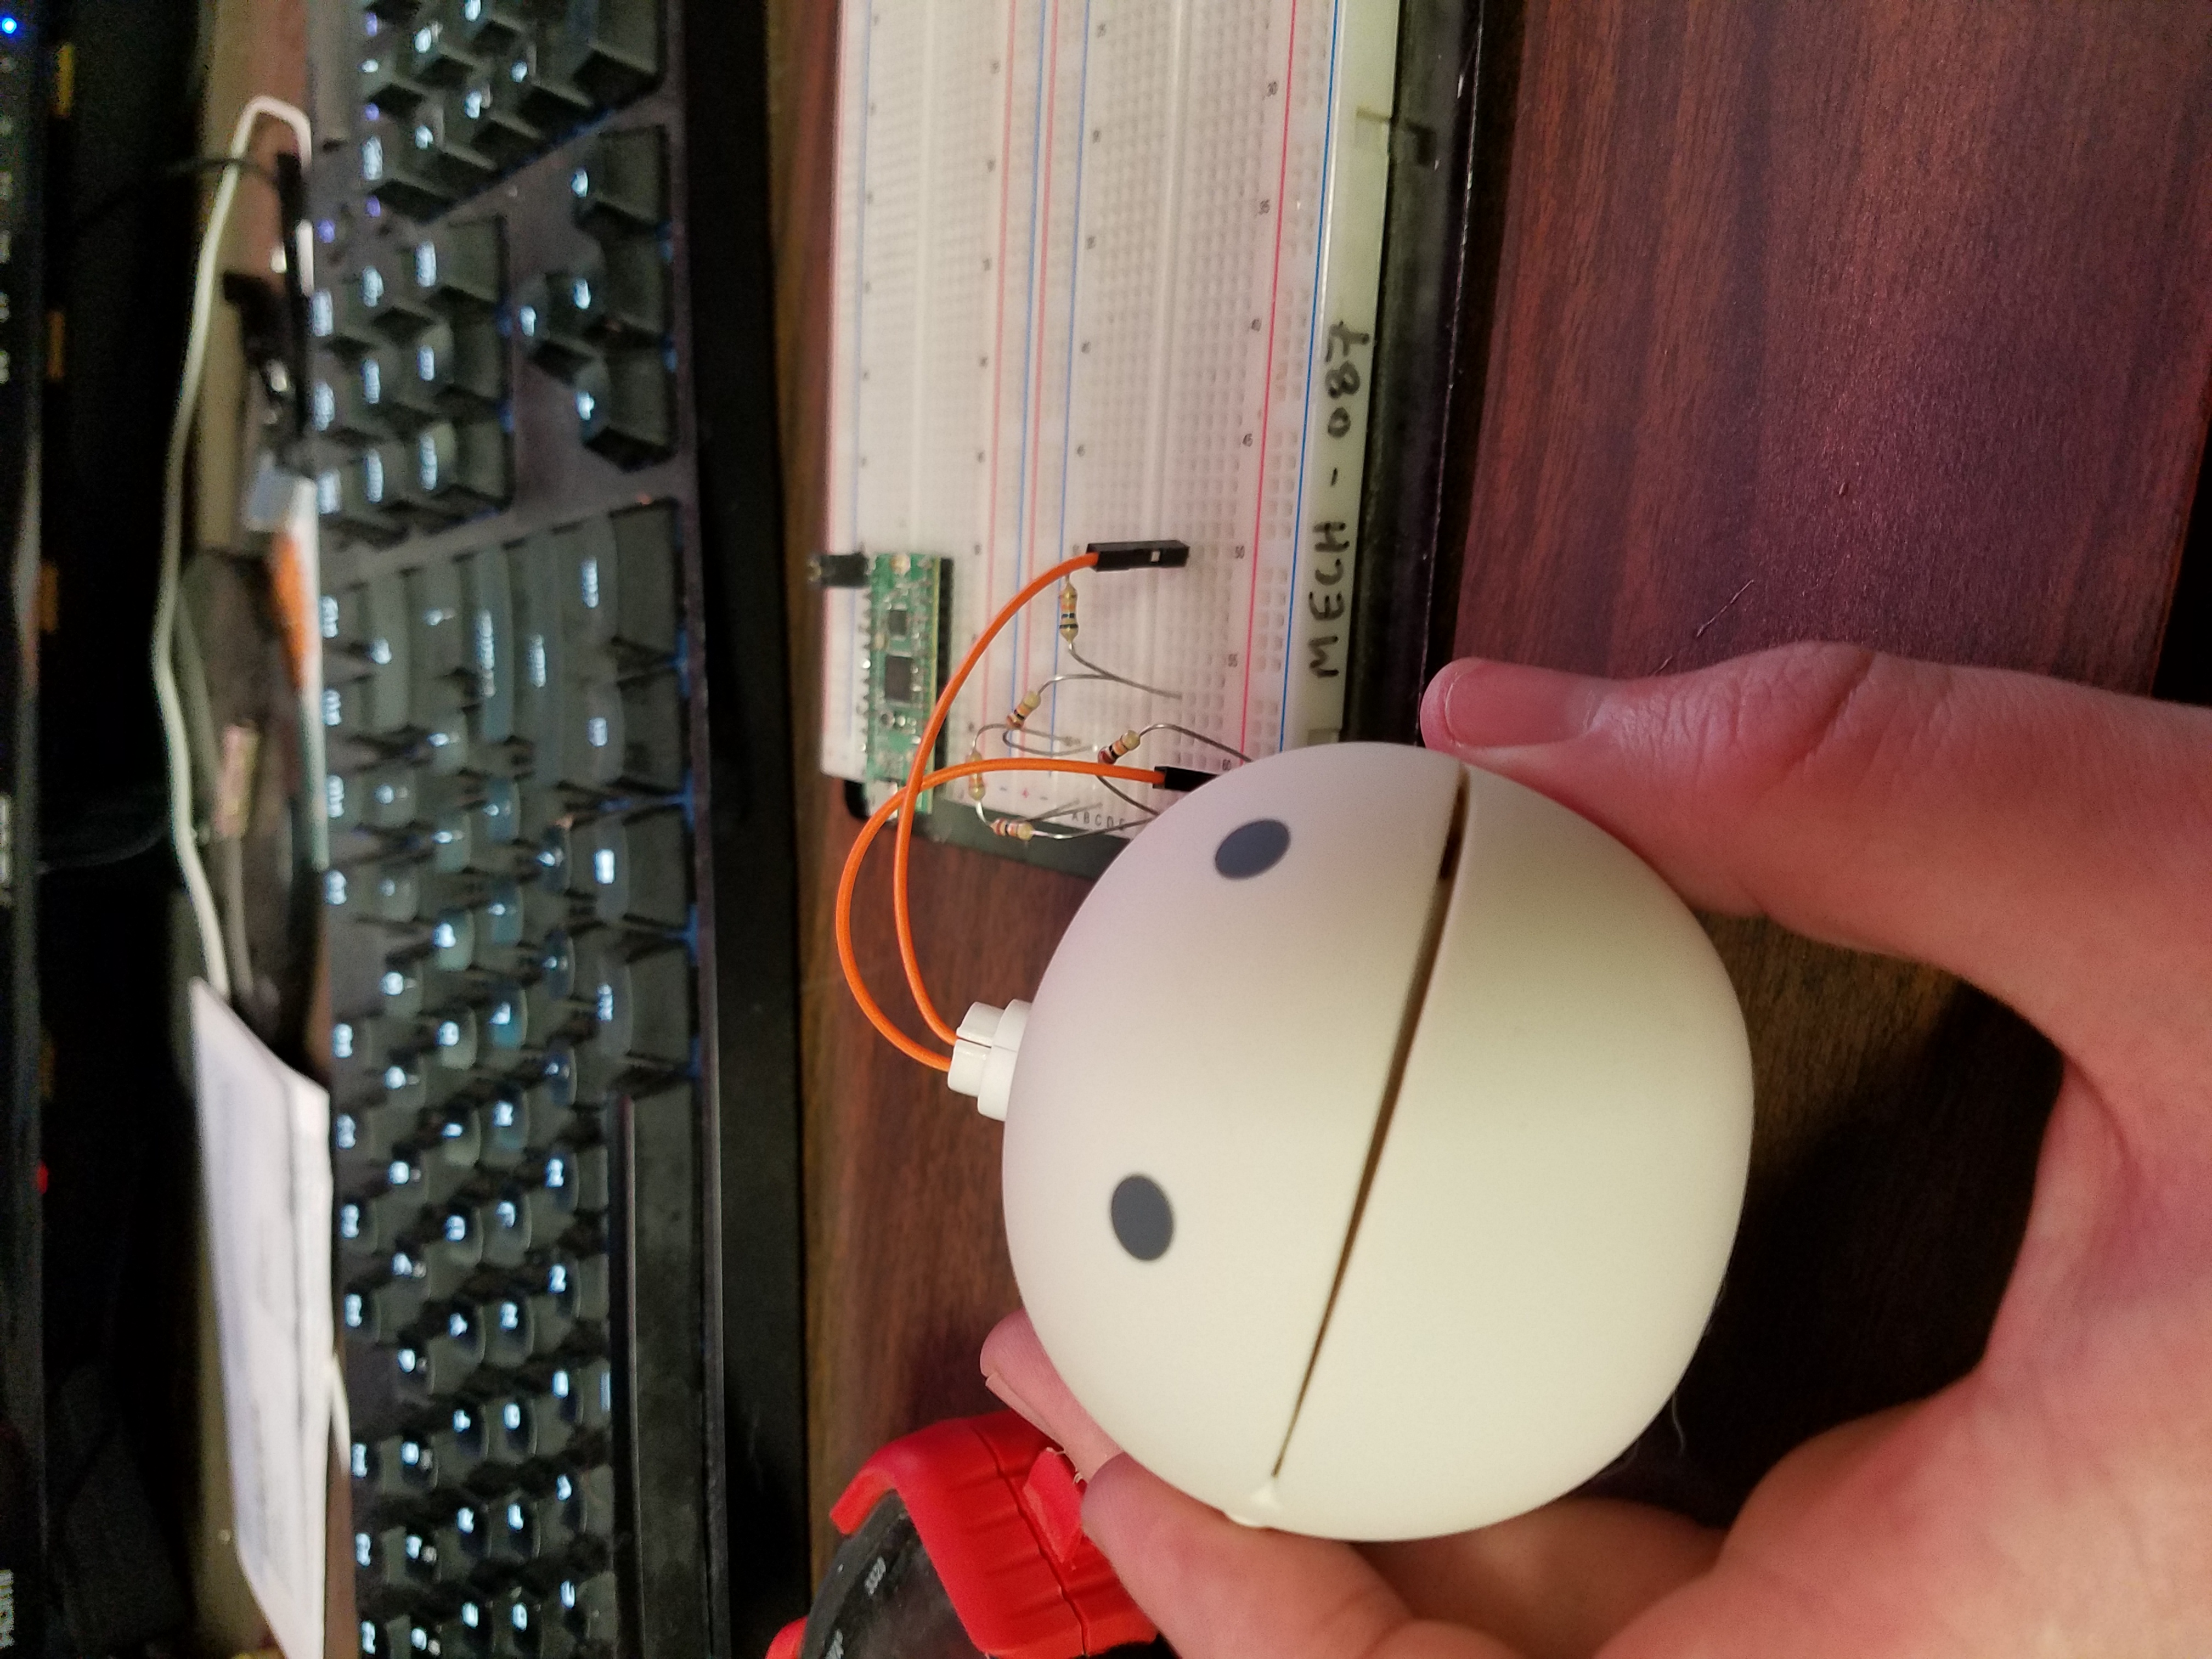
I recently received an Otamatone as a gift. I quickly found out I lack the training to accurately hit notes by ear. As a solution to my lack of skill, I decided to modify my Otamatone into a MIDI-controlled instrument. This is the story of my first attempt at doing so.
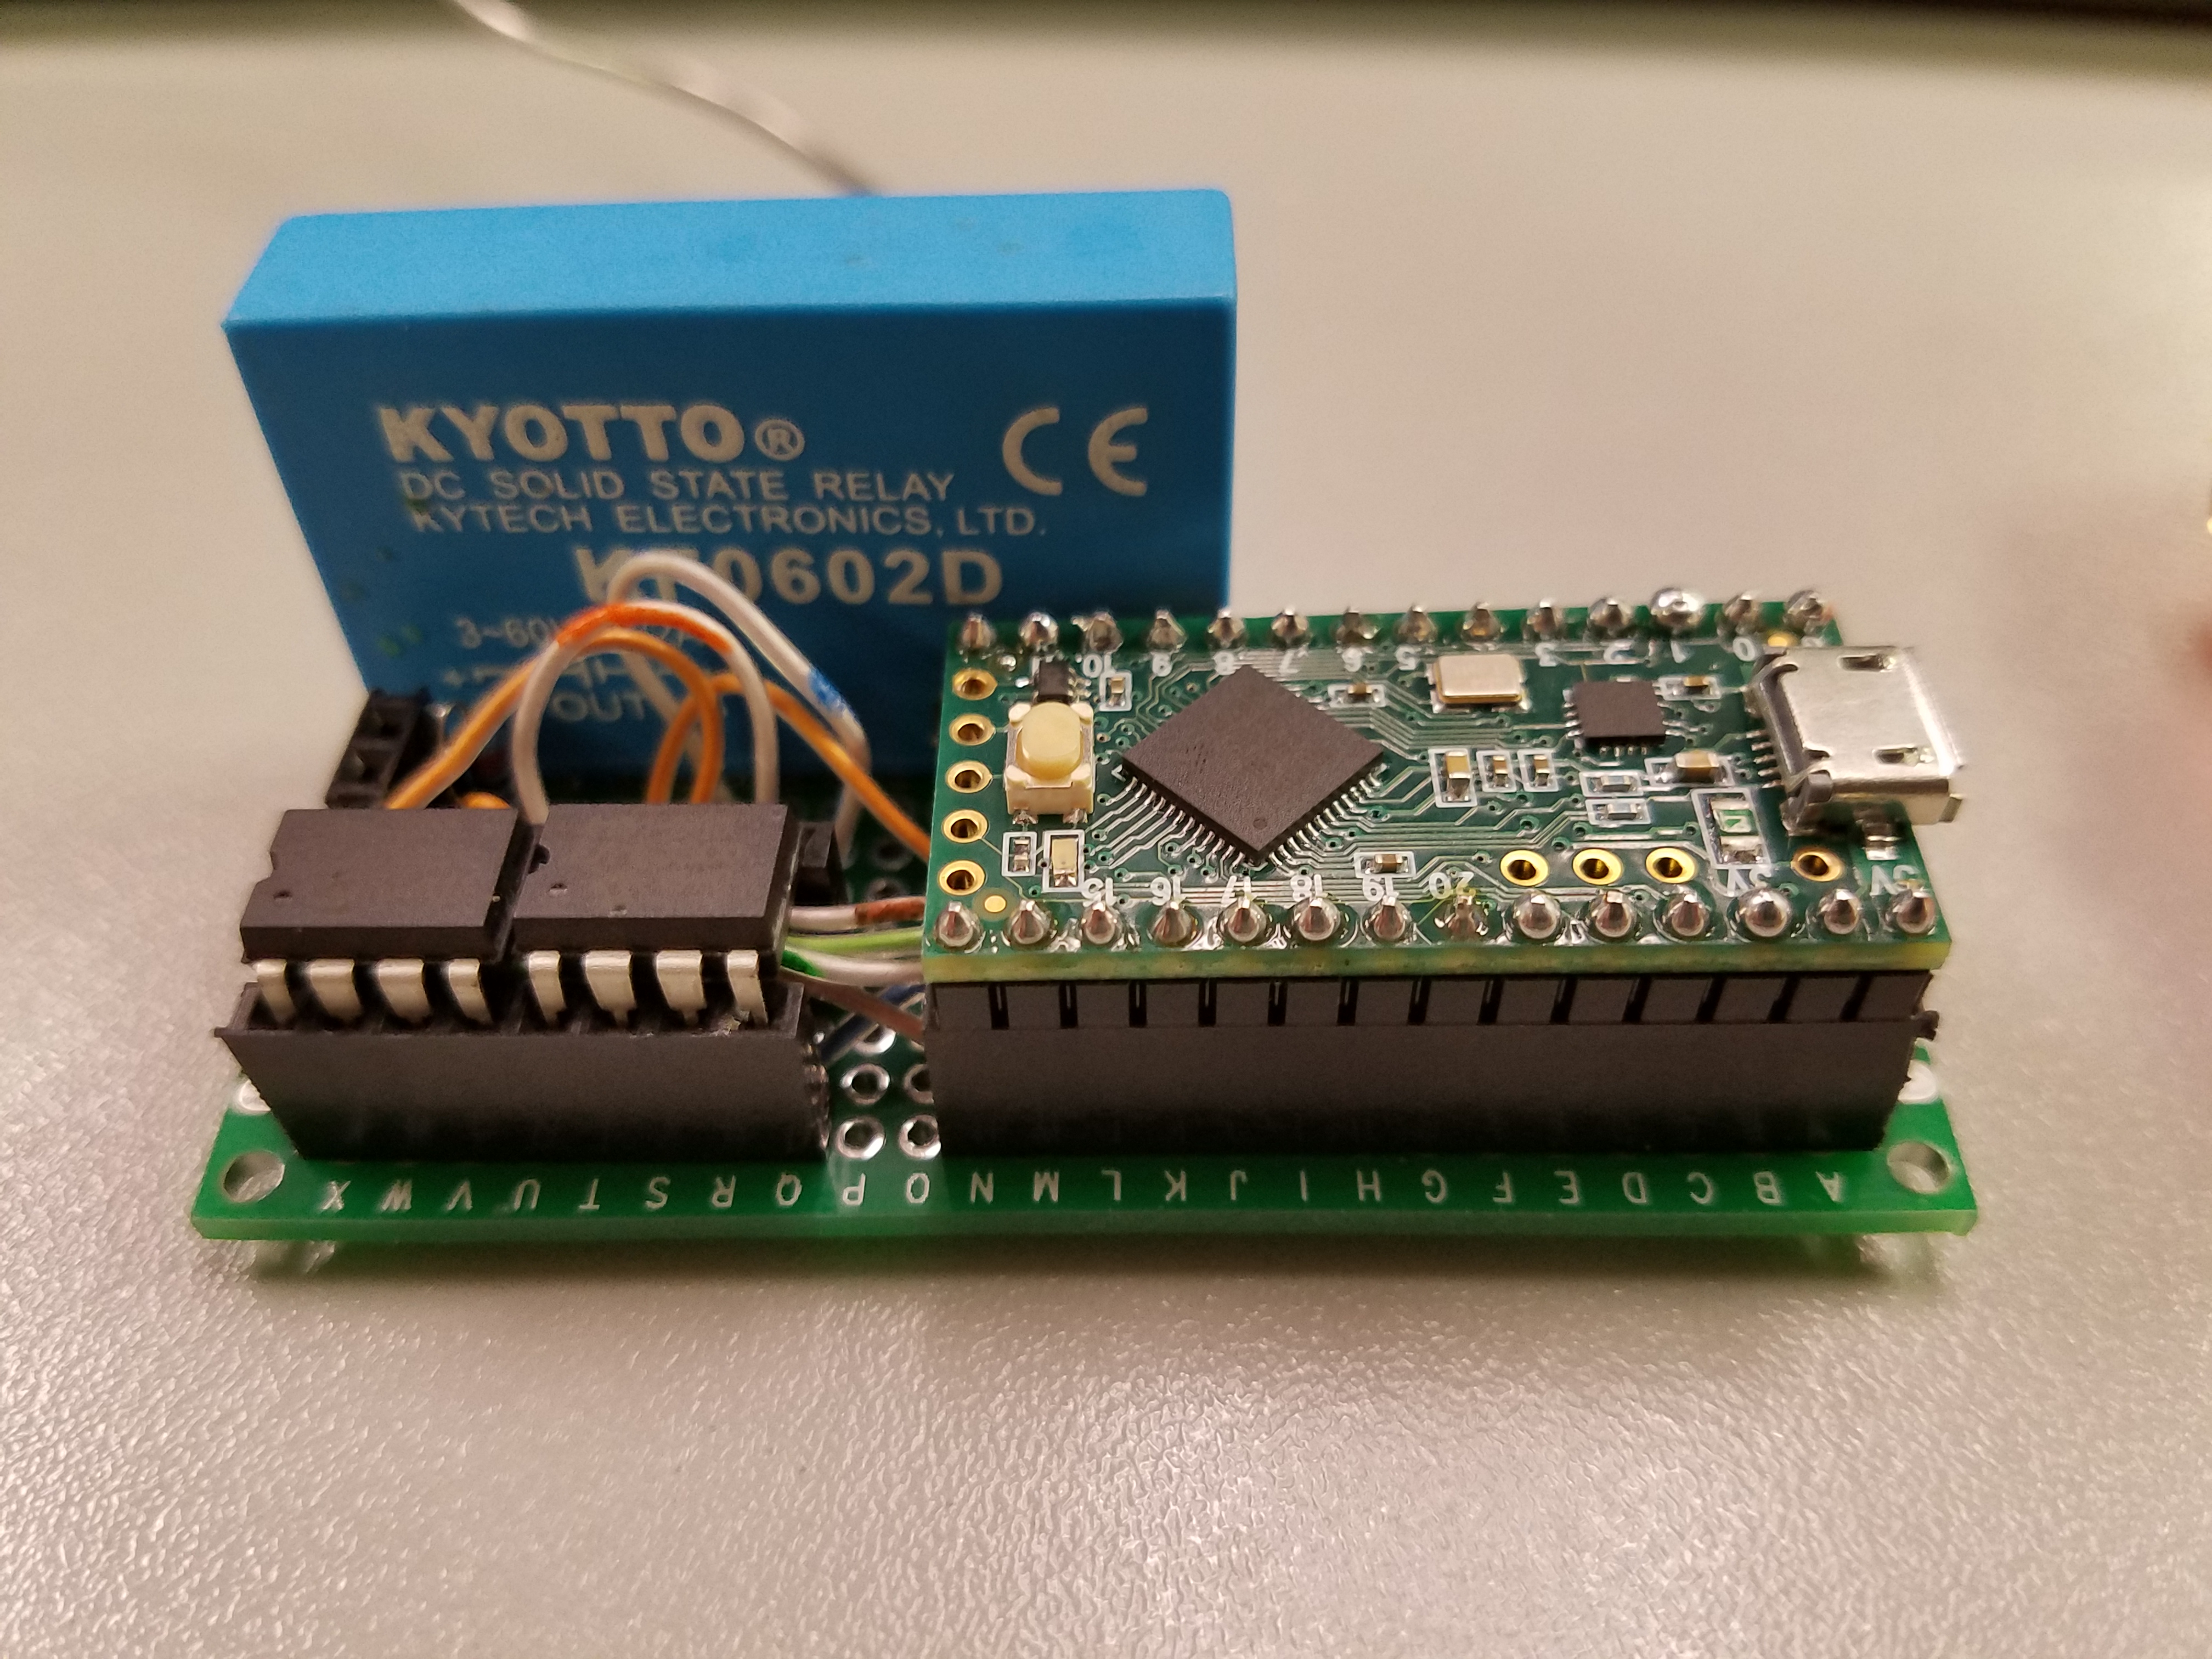
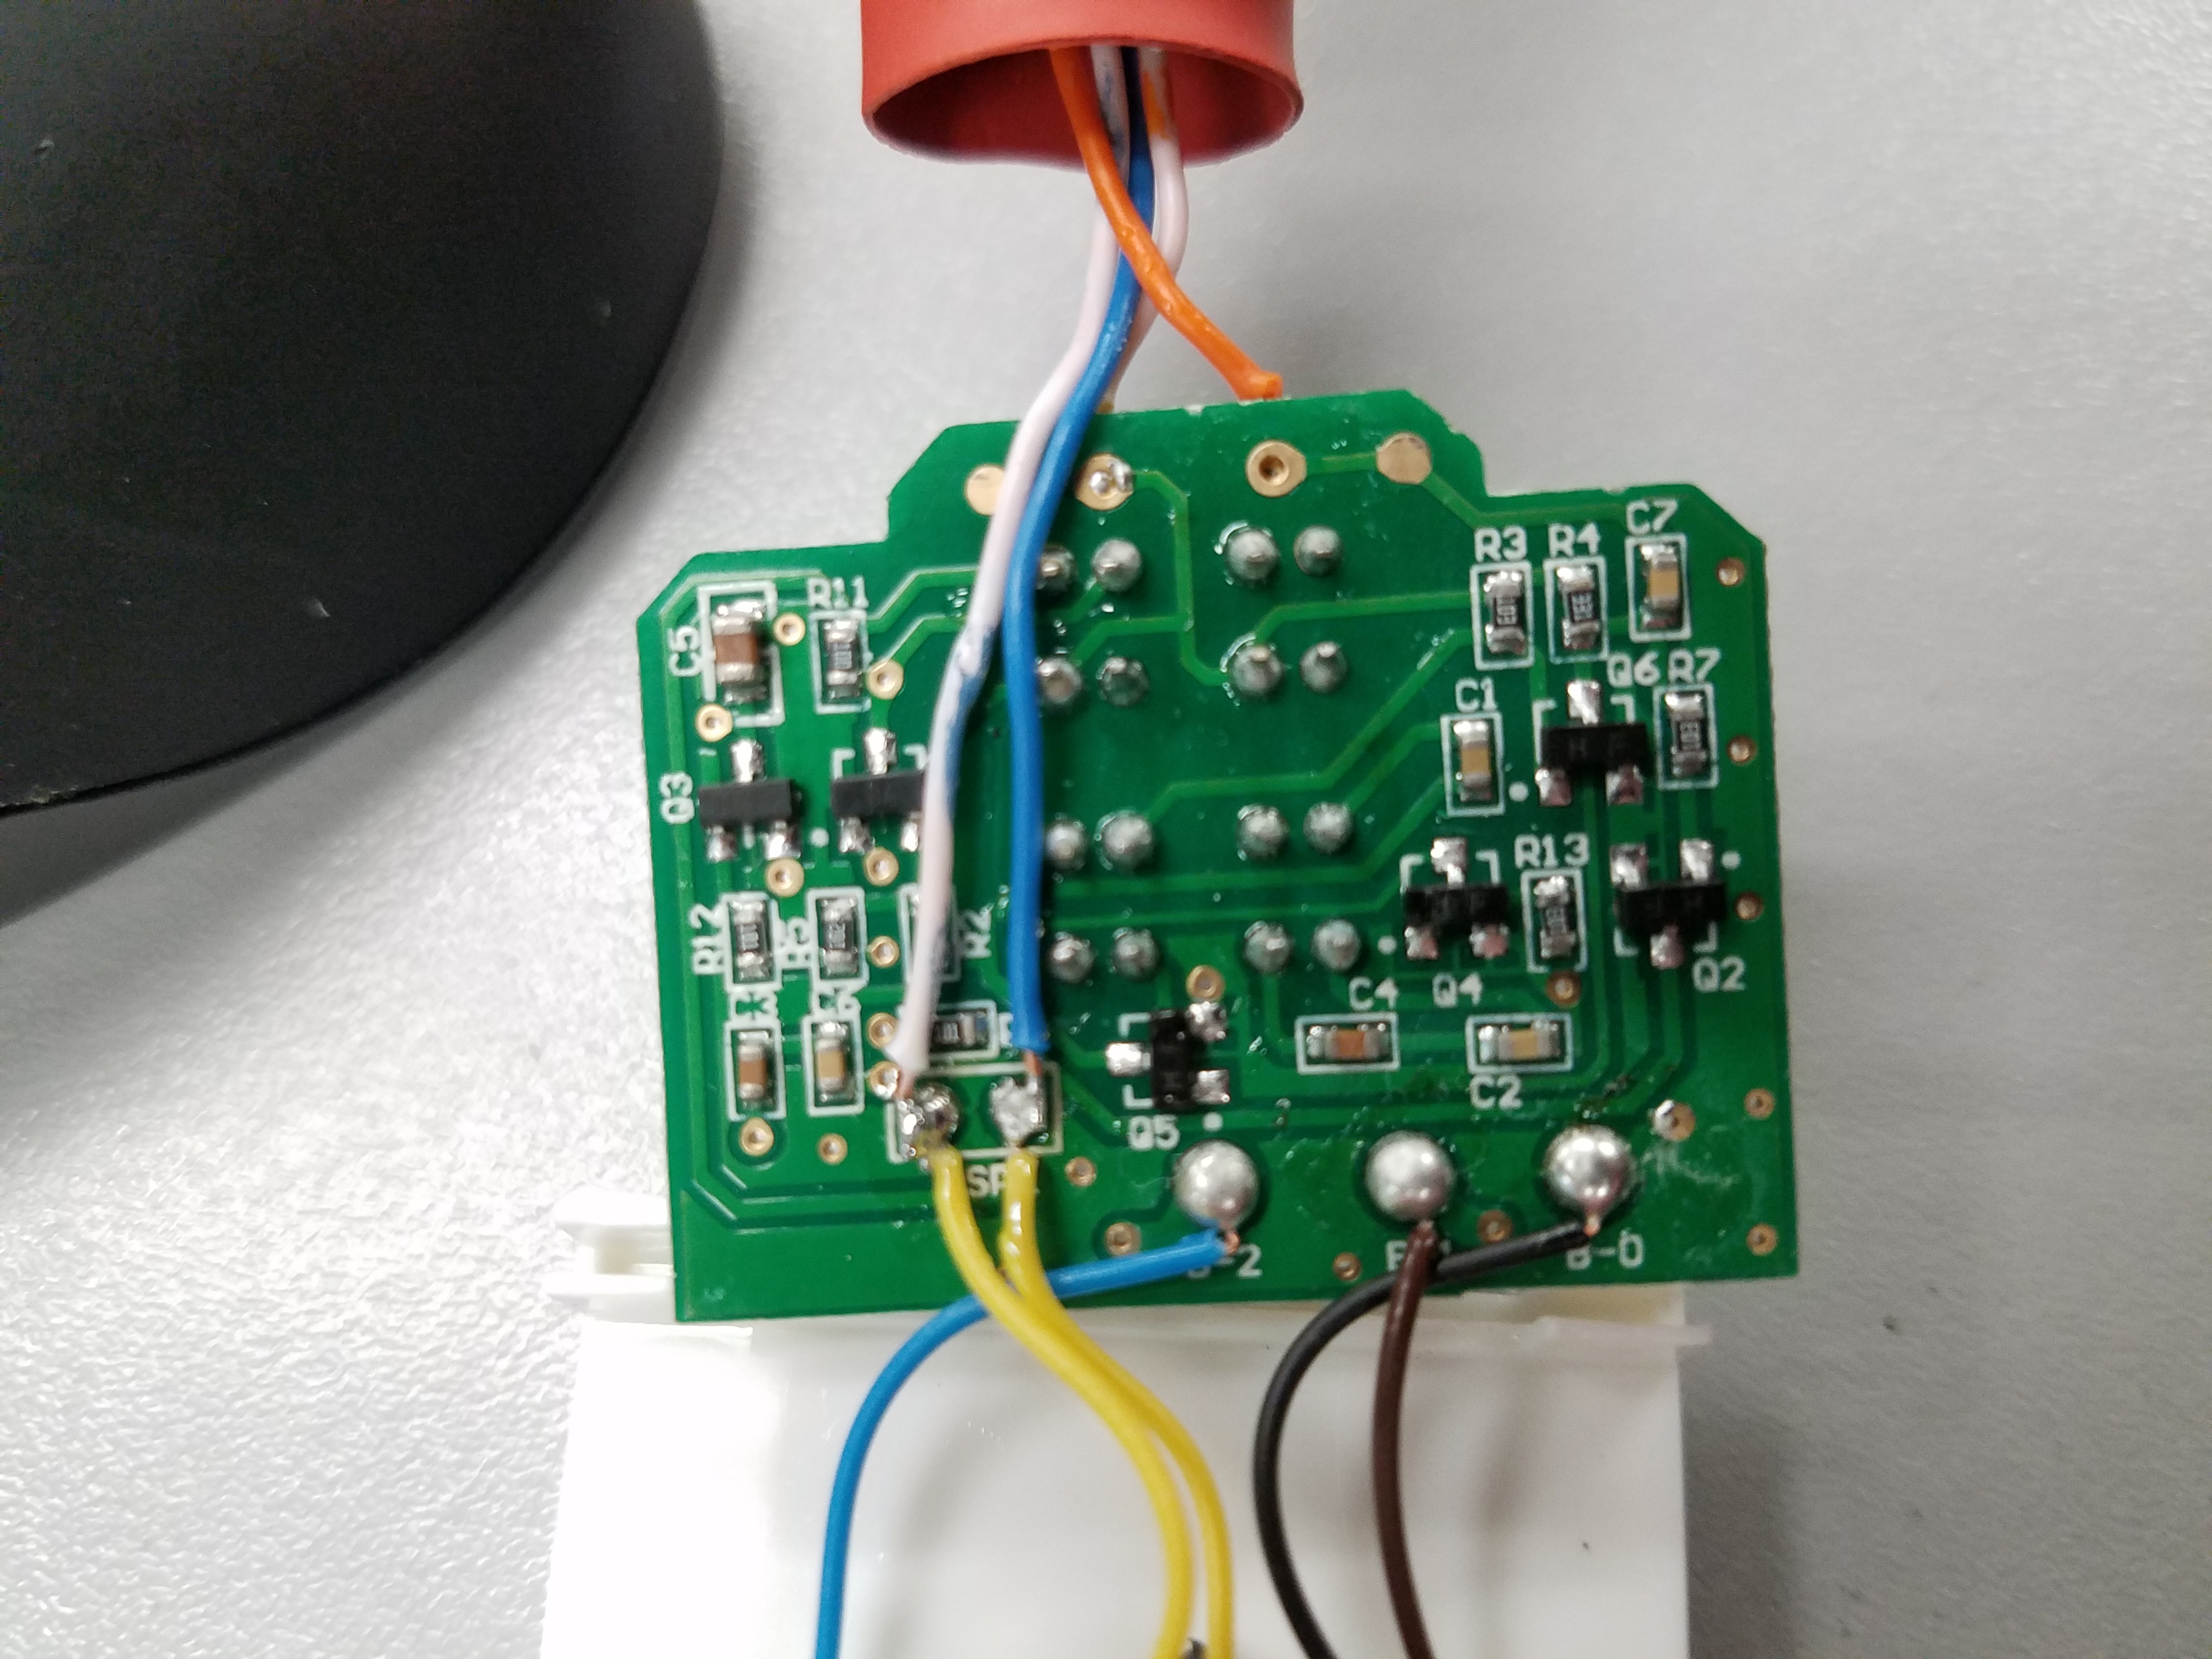
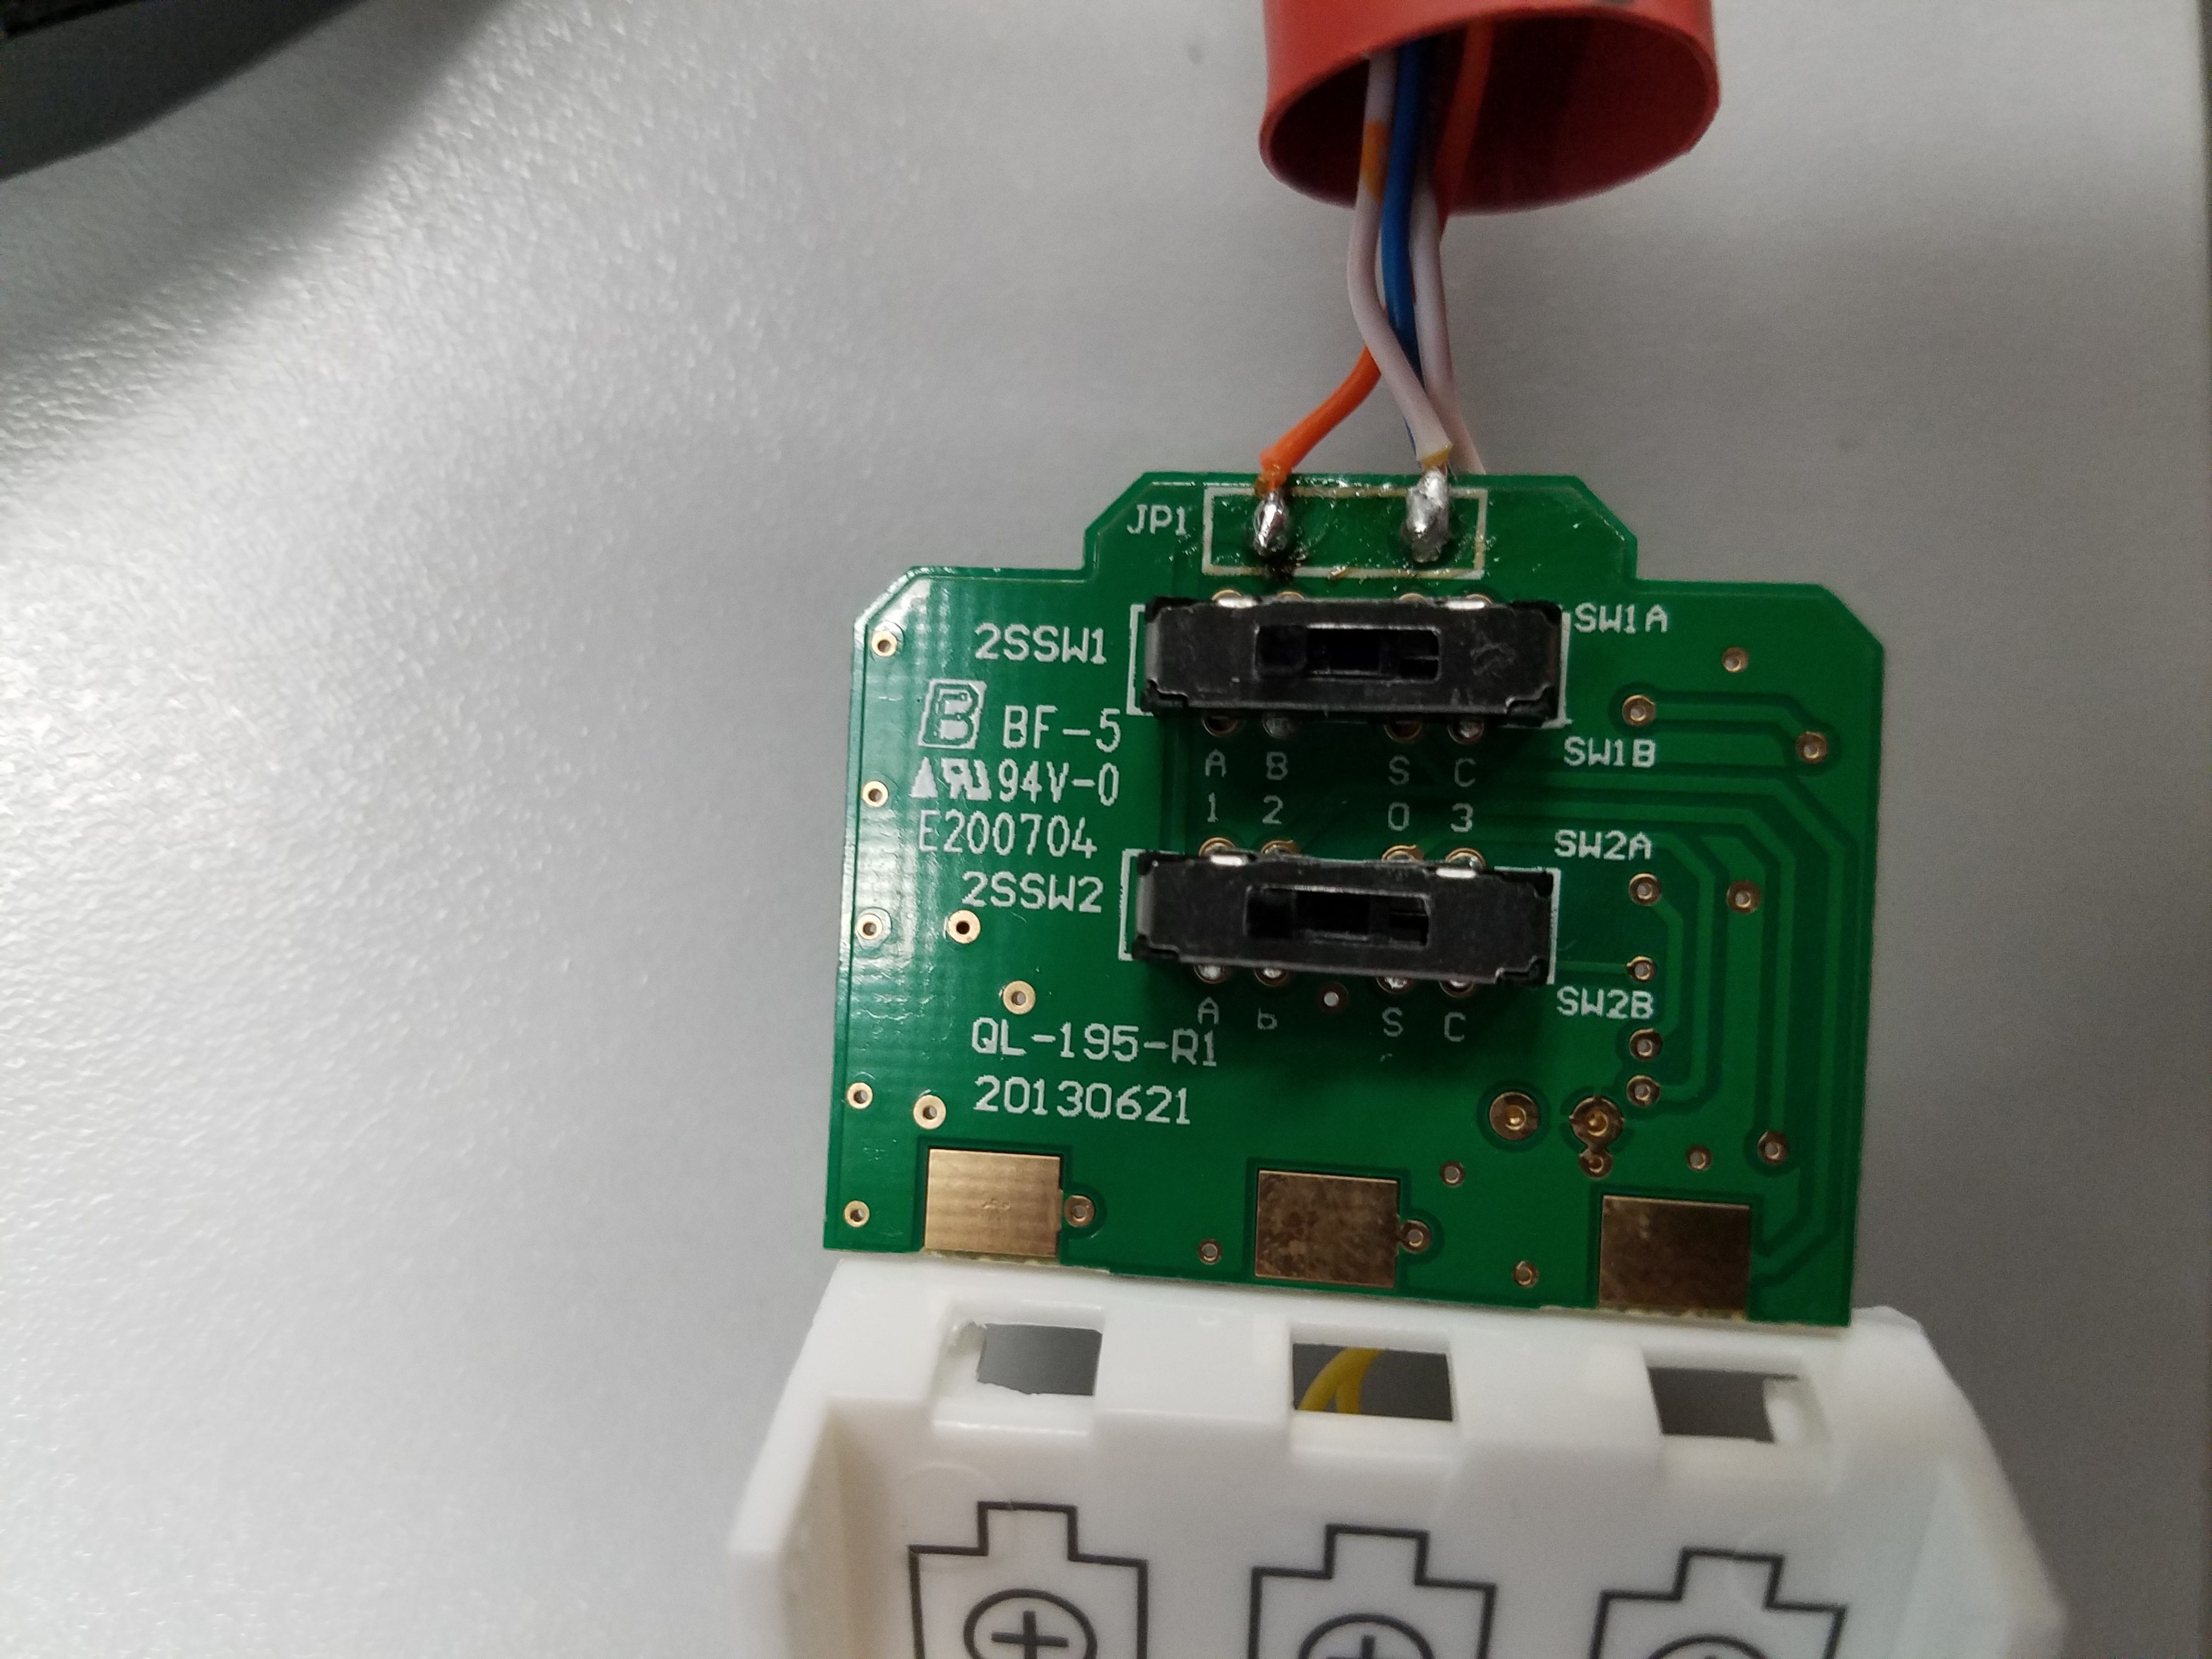
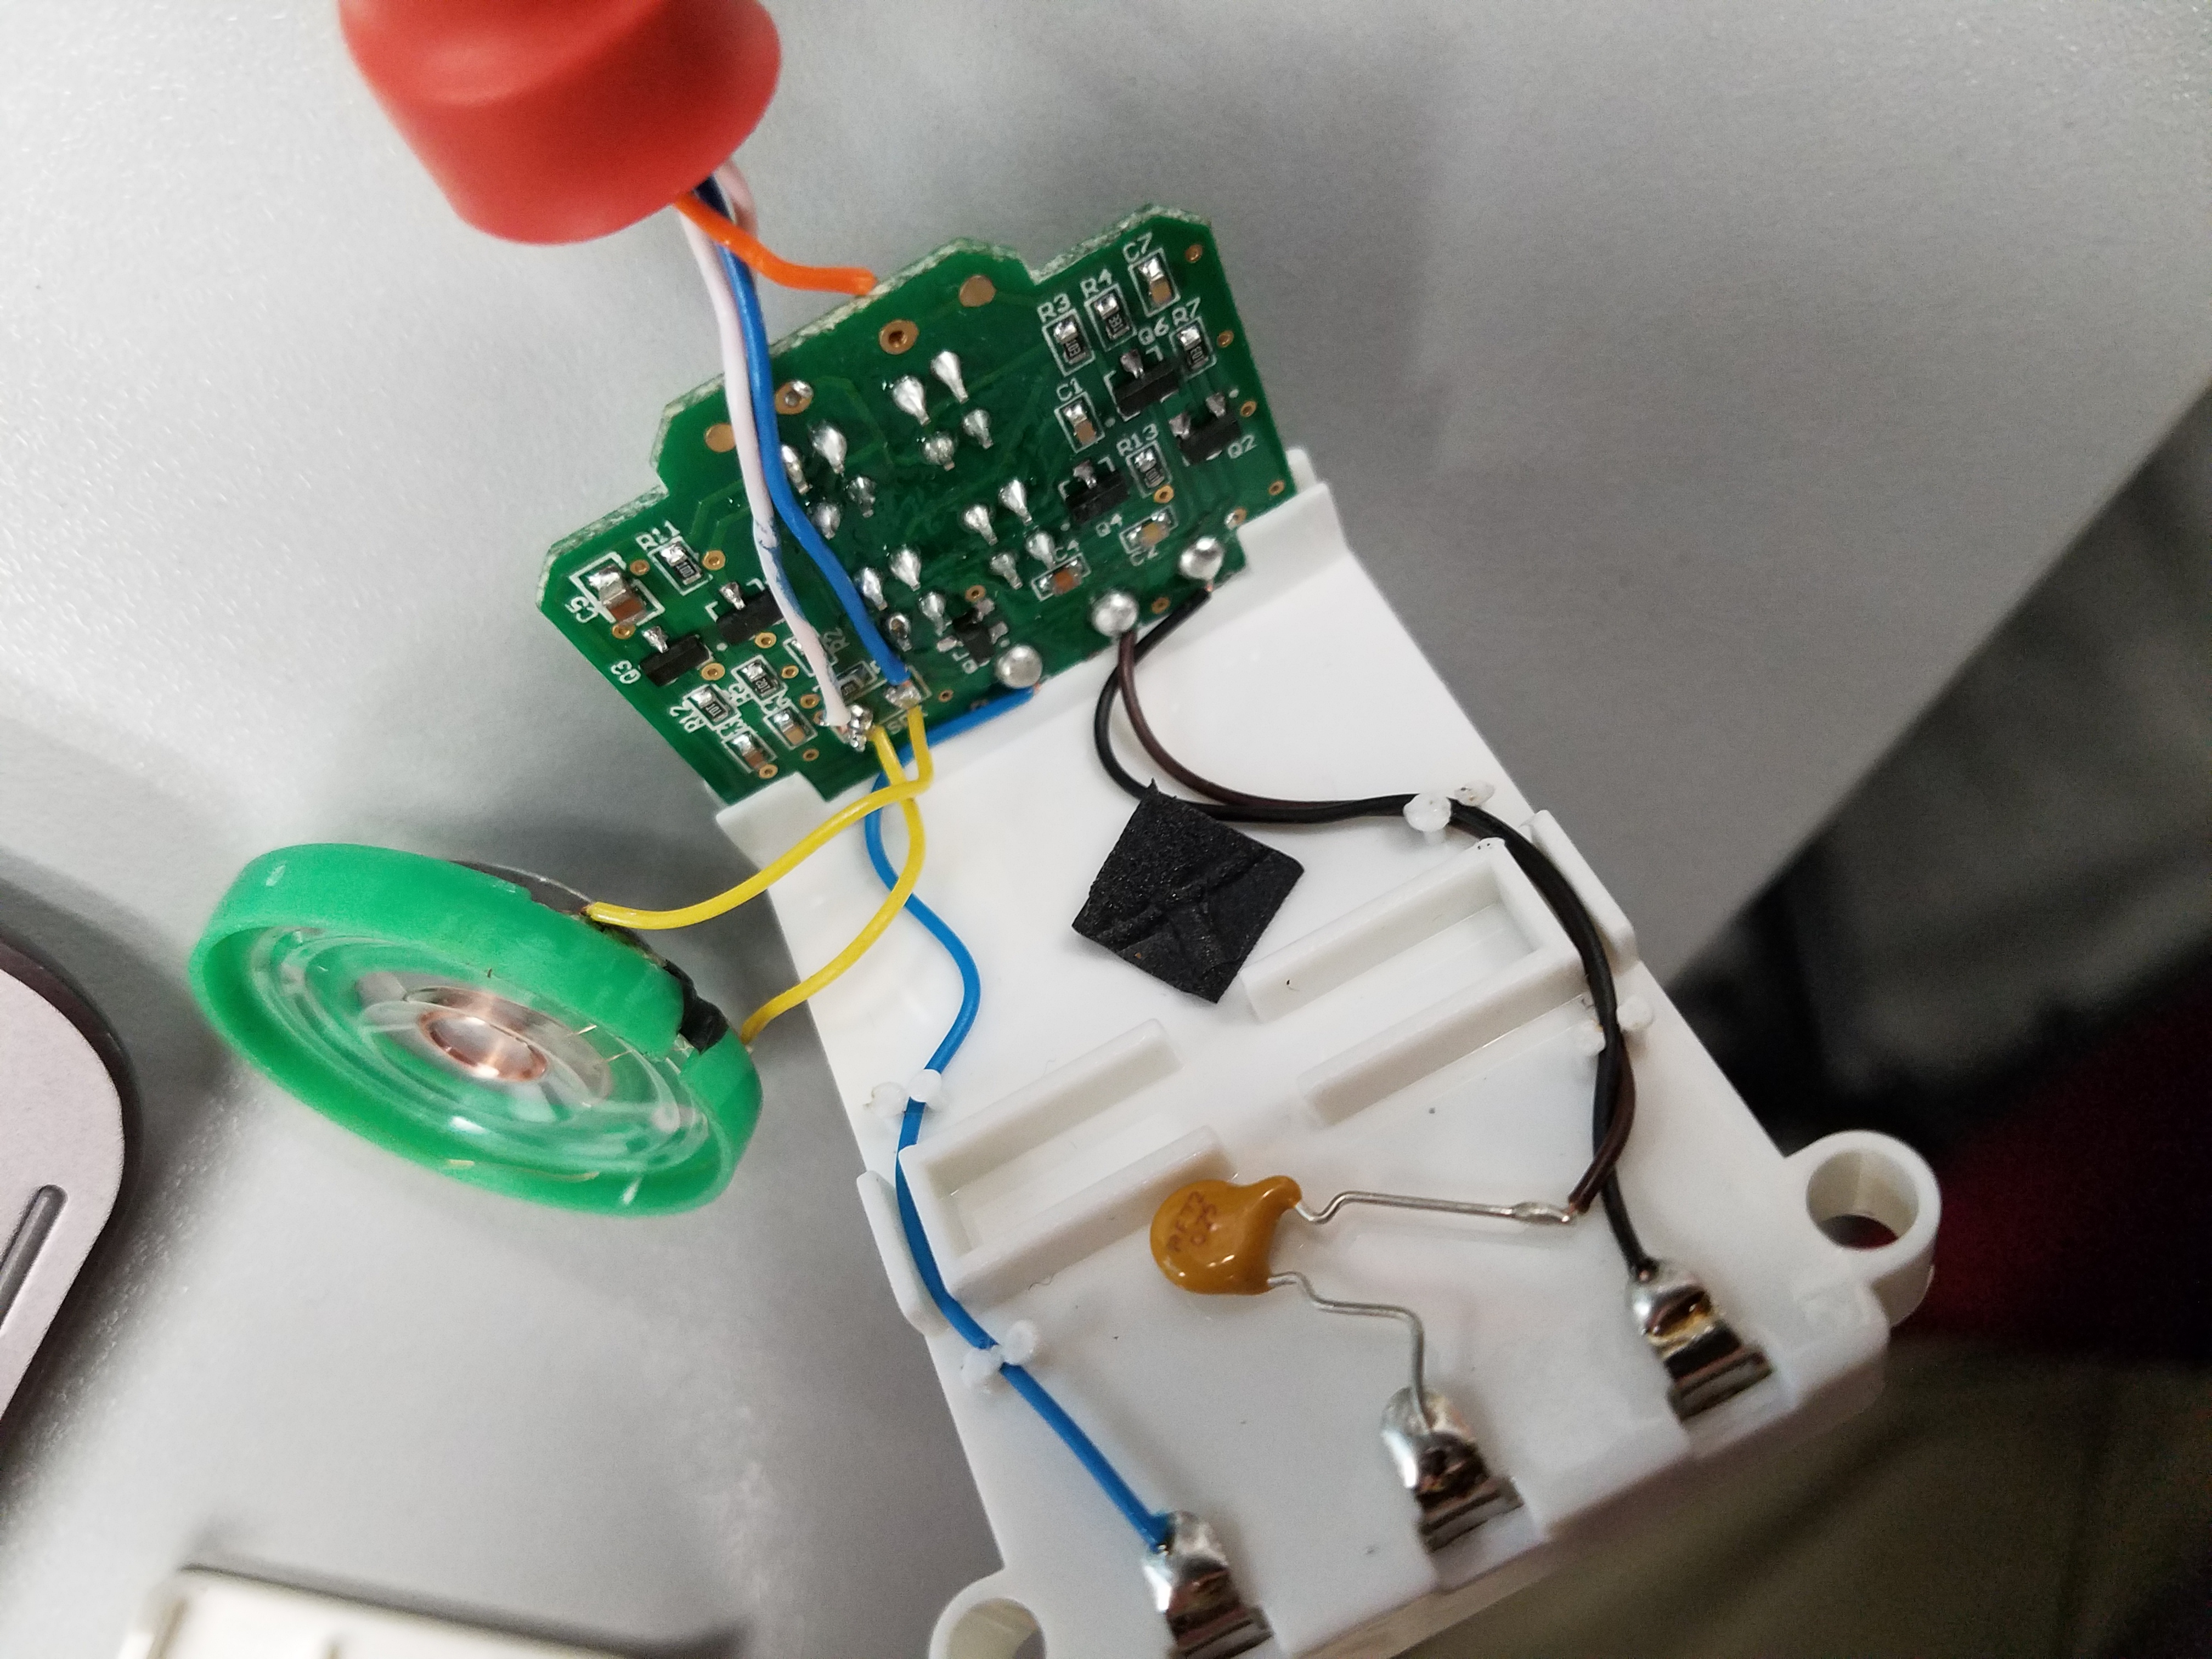
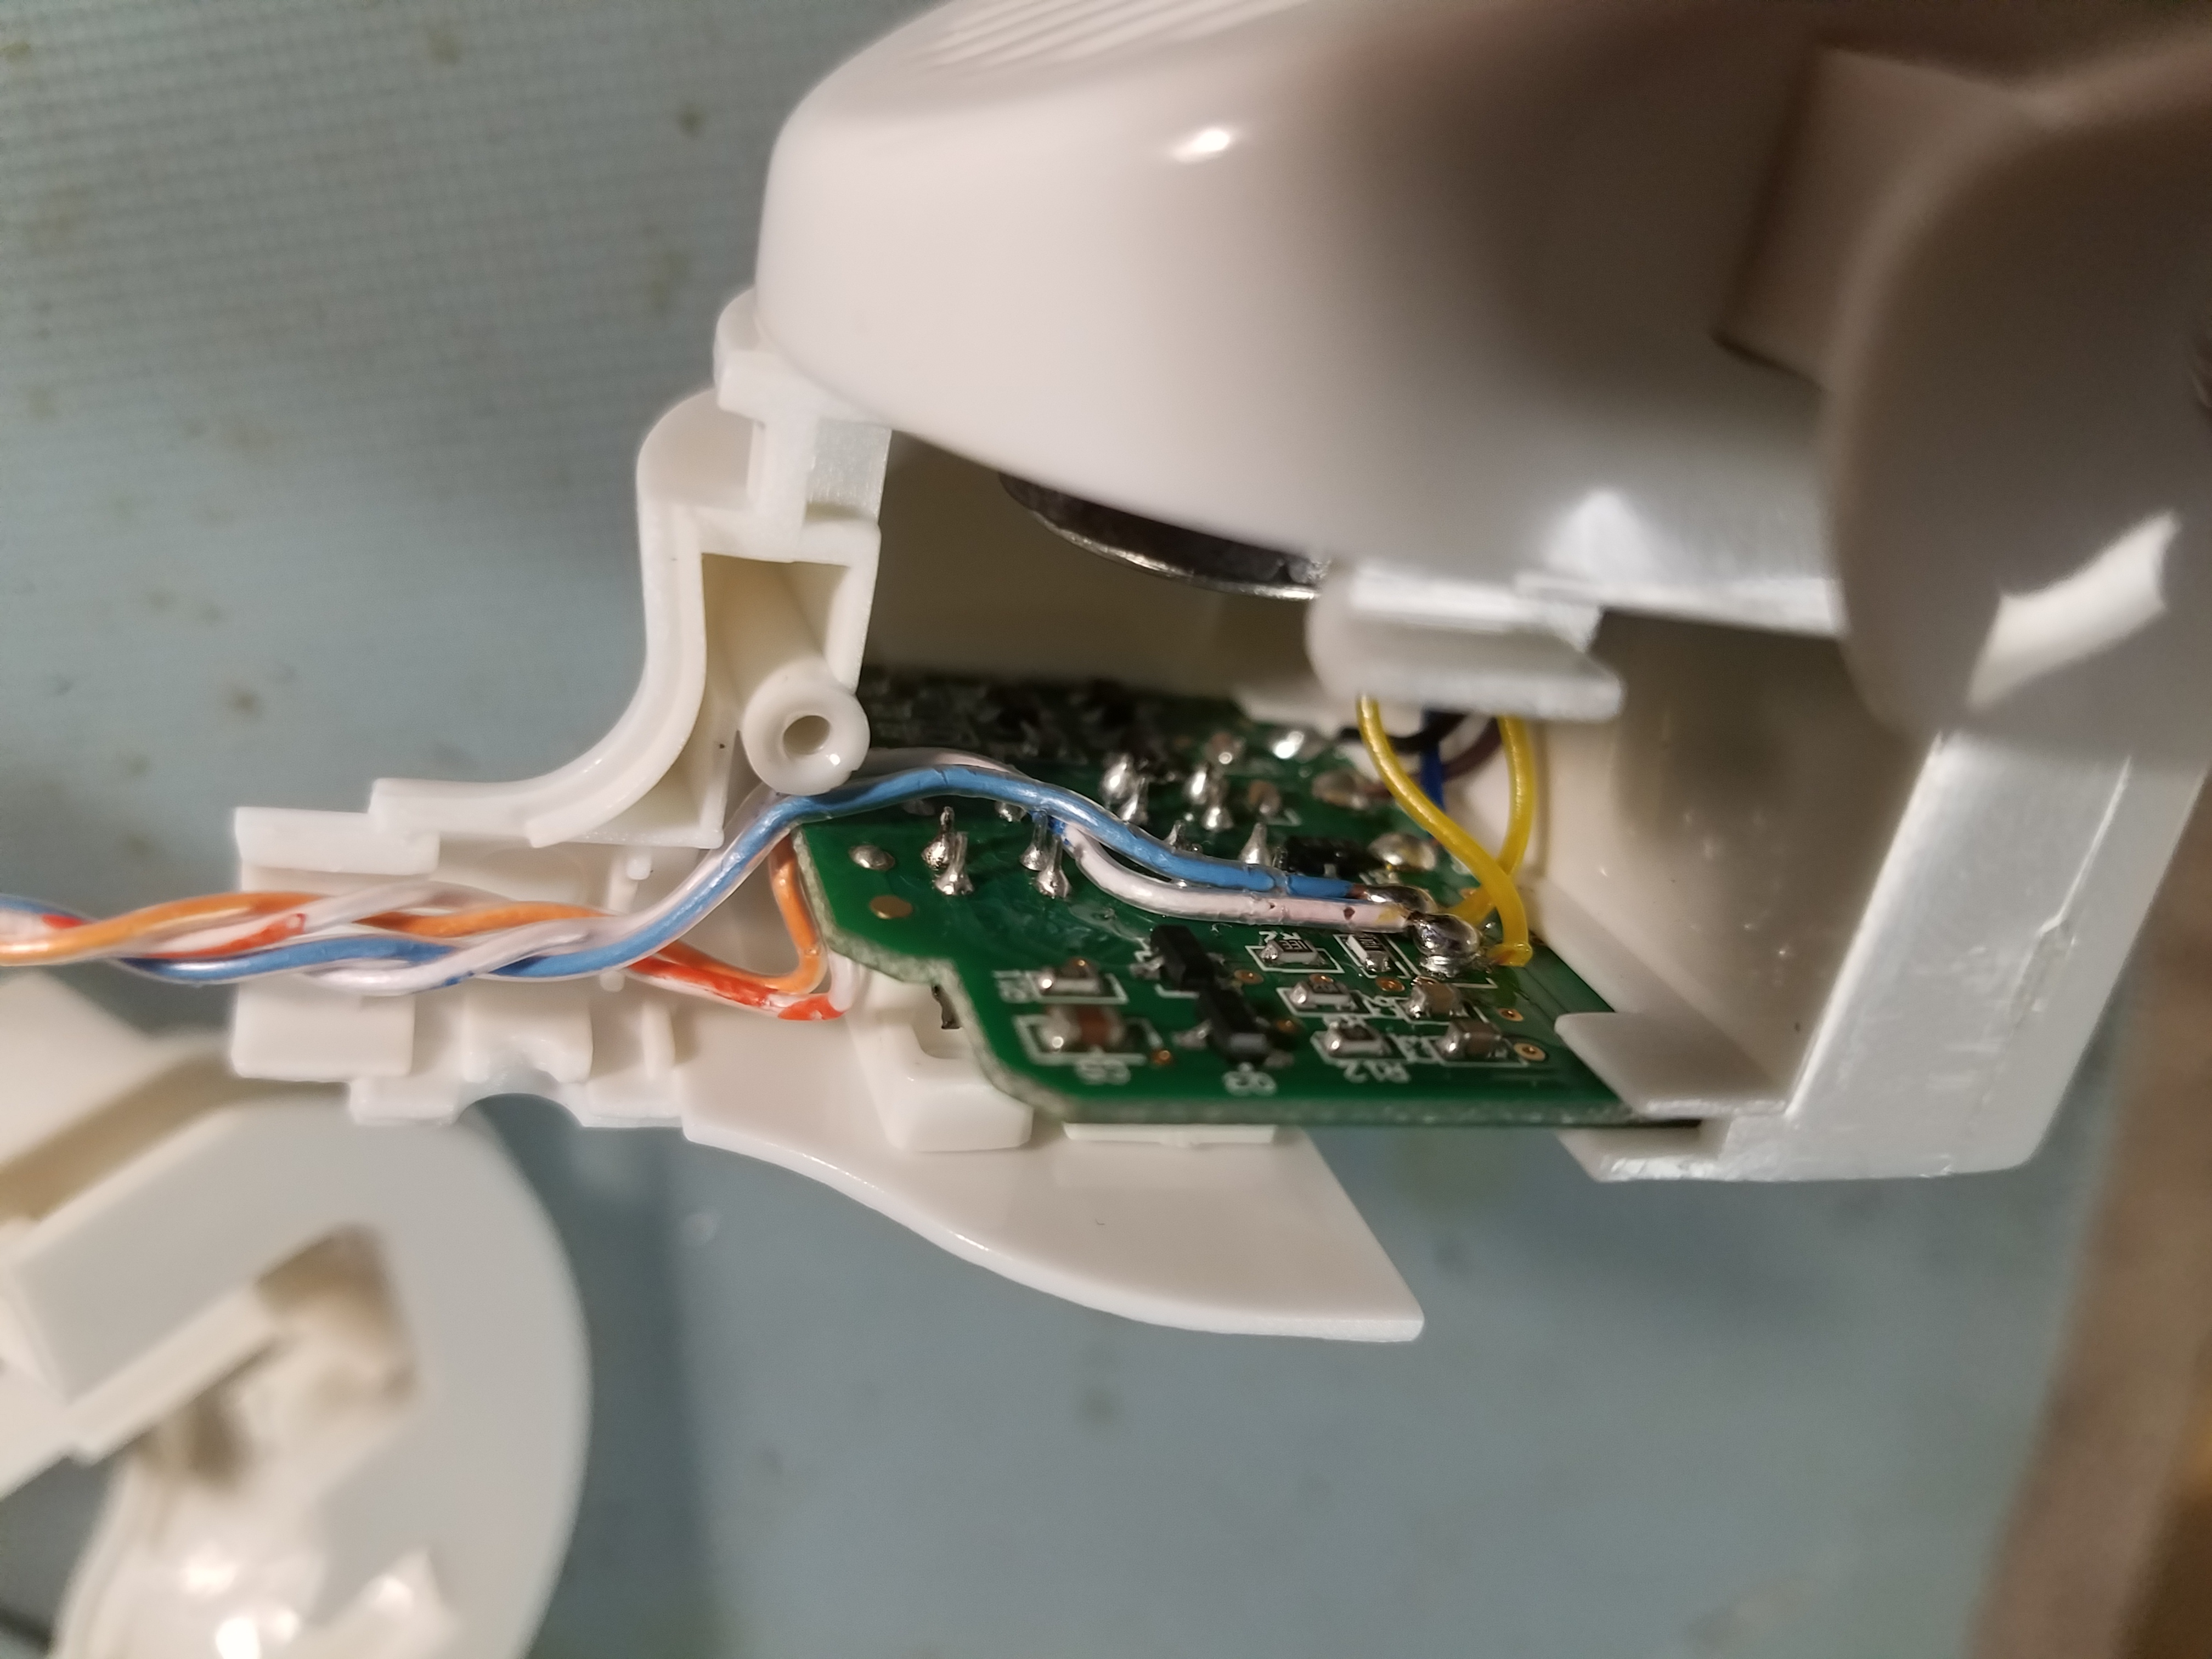
My first step was to disassemble the device and figure out how to replace the soft-pot style potentiometer that controlled the device with a digital potentiometer of my own.This prooved to be pretty straight forward. I used a couple of digital potentiometers I had, as well as a solid state relay I had laying around to control when the sound was turned on and off, and adjust the resistance to the ~100k value range the original soft-pot had.
In doing that, I was able to control the pitch, and get some sounds out of it by sending MIDI commands to a Teensy board. See video below for one of the earliest tests.
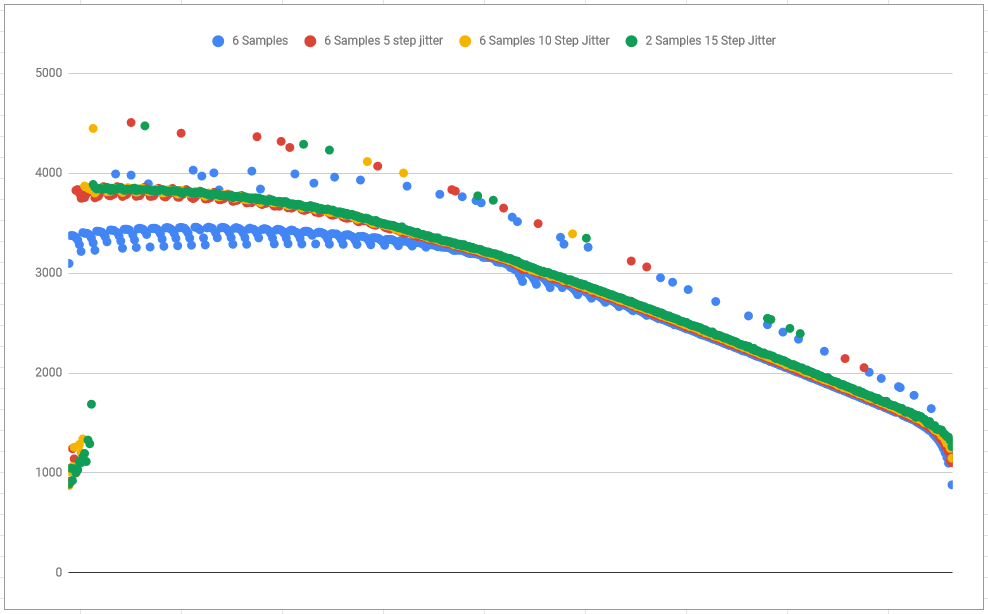
Once I had basic MIDI control, I set out to map a resistance-to-pitch map so I could adjust to a specific resistance and get a specific pitch out reliably. It turns out that this was not going to work as I had envisioned. Not only were there some anaomolous spikes in output frequency, but the pitch mapped to specific resistances seemed to vary wildly depending on unknown variables (presumably temperature related, but it also seemed to be effected by the last notes played as well).
You can see a graph of the anomolous pitch readings below in the images for the post. I tried adding jitter to the resistance, and having it randomly oscilate around a resistance, but the anomolous pitch changes were still present, and never in the same place twice when I ran tests. I decided that I would need to do more than just replace the soft-pot with digital pots, I would also need to read the frequency of the output sound, and be able to adjust towards a specific frequency on the fly.
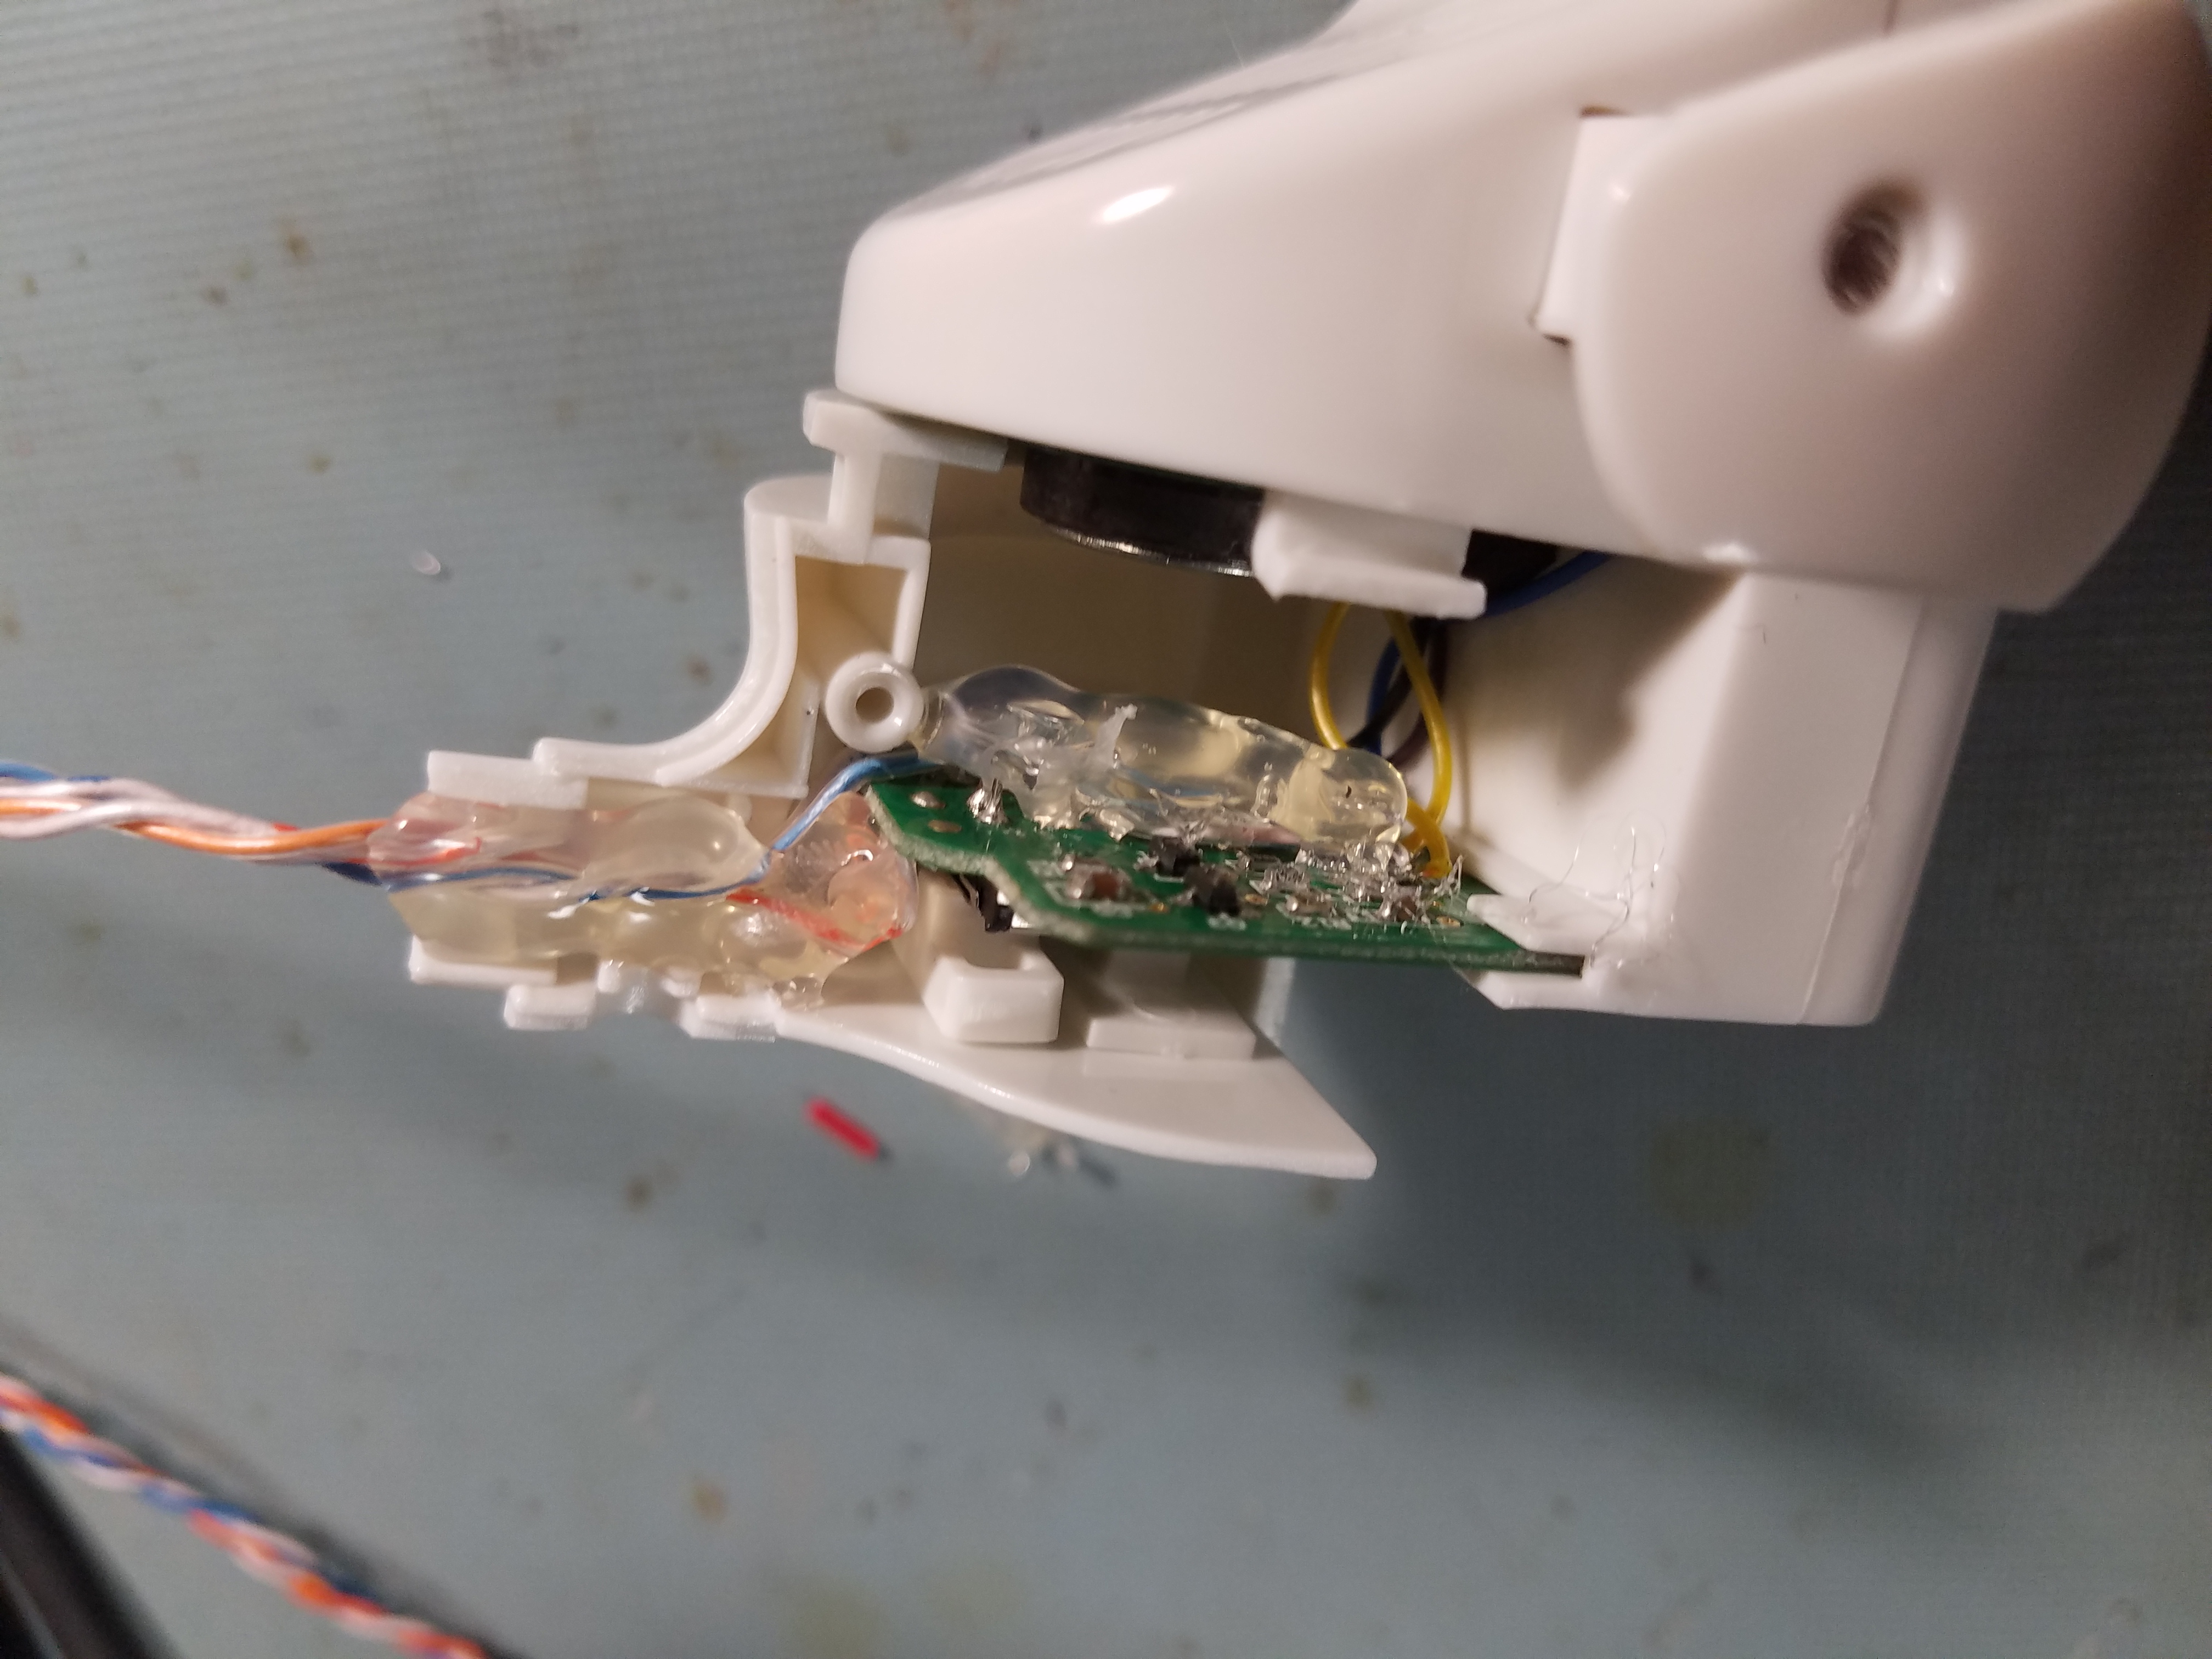
That led to me adding another two wires tied to the speaker outputs so I could measure the actual output frequency of the sound I was playing. Now that this was done, I was able to map the range of available frequencies on startup, adjust to the correct frequency quickly by starting at the closest resistance previously measured at that frequency, and shifting as needed. You'll find the code from my single oMIDItone below.
You'll note that this is labeled part 1. Once I had basic functionality, and I was able to actually hit notes consistently, I realized that the range of the oMIDItone was limited to about one octave per each setting (Low, Mid, and High, controlled via switch on the back), and that if I was going to be able to play entire songs at once, I would need to control more than one. Part 2 of this series will cover my work on making a terrible circuit board that can control up to 6 of these oMIDItones with a Teensy LC, as well as making a class object that will run the oMIDItones and can be called via MIDI commands.
